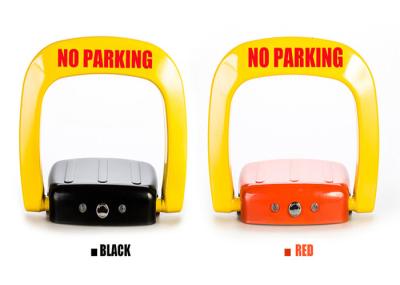
O shape heavy duty big size automatic remote control parking space lock
Brief Introduction
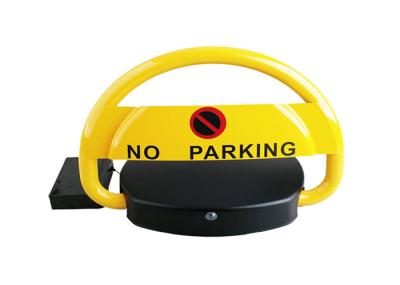
BW-O automatic parking lock is used in all kinds of parking spaces. It will protect your parking space by standing guard while you and your vehicle are away. You can feel at ease that no vehicle can park in your space and inconvenience you. The BW-O automatic parking lock is used to stop this type of parking disruption.
BW-O automatic parking lock is equipped with a strong large capacity 12 volt battery which is rechargeable (about 8 hours). No messy wires as the unit contains all electronic components inside the locked safety control box.
Specifications of car parking lock:
Model | SN-BW-O |
power voltage | DC12 7AH |
Material | steel rolling |
Up Size | 590*500*380mm |
Up height | 380mm |
Down size | 590*500*85mm |
Down height | 85mm |
Remote control distance | ≤50m |
Working temperature | -30 ~ +65 ℃ |
Lead Acid Battery charging time | 8 hours |
Working time after battery charging | 3 months |
Waterproof | Incomplete waterproof |
Gross weight | 13.5Kgs |
Packing size | 630*530*120mm |
Detail photos
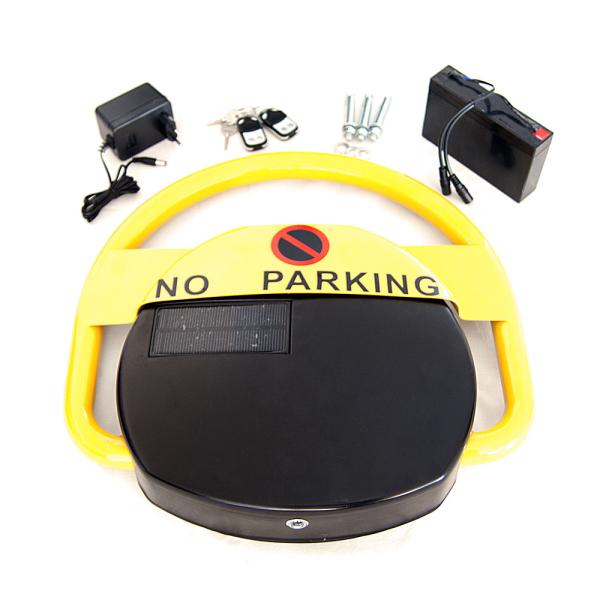
Pack List
1 x BW-O unit
1 x Charger 220±10% volt
2 x Remote Controls
3 x Tamper-proof bolts 50mm
2 x Keys for control box
1 x Installation and Operation Manual
Installation
What you will need:
- Tape measure
- Pencil or marker
- Impact drill or similar
- 12mm masonry drill bit
- Tube of liquid nails or silicon adhesive
- Large screwdriver
Installation steps
1. Clean all surfaces where the Parking Lock is to be installed with dish-washing liquid (or similar) in warm water then allow time to dry. Make sure dust, oil and grease are removed from the surface area.
2. To fix the Parking Lock to the surface, place the unit on the ground with the sign facing the entry point. Centre it from left to right and approx. 0 mm – 100mm from the front entry point of your parking space (see diagram).
3. Mark the ground with a pencil using the 4 holes in the Parking Lock base to locate the exact position of the 3 holes to be drilled into the surface. Drill holes using an impact drill or similar. Holes (3 in total) must be 50mm (min) deep for the tamper-proof bolts (supplied) to fit.
4. Clean the dust away from the area from around the holes and the surface.
5. Cover the underside base of the Parking Lock unit with liquid nails or silicon. Make an “S” pattern when applying the adhesive for extra strength.
6. Position Parking Lock over the holes and insert tamper-proof bolts. Screw bolts with the large screwdriver until unit is secure. It is very important to tighten screws securely as any movement will cause the unit to come free when in use.
7. Connect the battery and the remote to the matching black locating sockets.
8. Close the lid of the battery box and lock it. You are now ready to operate your Parking Lock with the remote control.