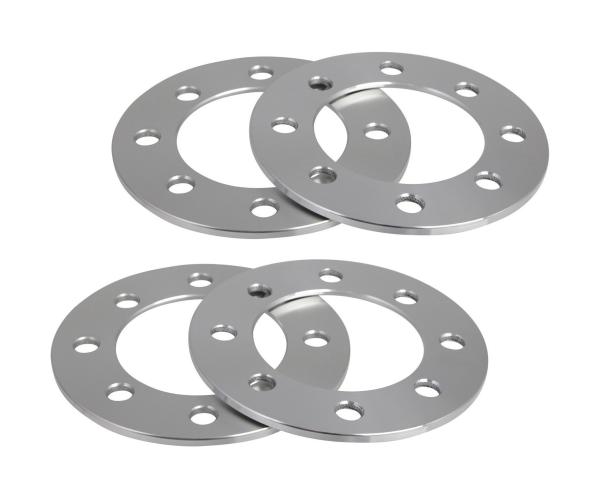
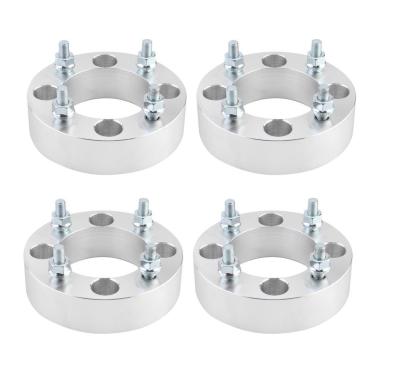
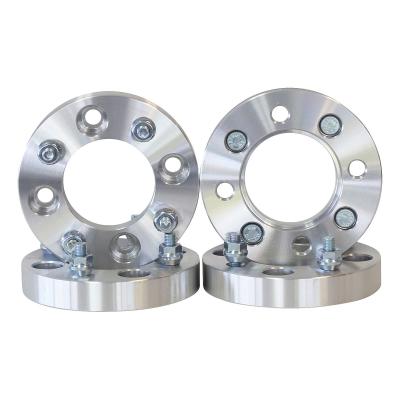
5mm (3/16") ATV 4x110 Wheel Spacers for many Honda Yamaha Suzuki Kawasaki 4/110,Slip On Flat ATV Wheel Spacers
Item specifics
Condition: | New | Fits: | ATV UTV |
Thickness: | 5mm (3/16") | Brand: | GWA |
Vehicle Bolt Pattern: | 4x110 or 4x115 | Manufacturer Part Number: | 5mm-4110-4115 |
Wheel Bolt Pattern: | Same as Vehicle Bolt Pattern | Surface Finish: | High Quality Aerospace Aluminum |
Stud Thread Pitch: | None | Color: | Silver |
Nut Thread Pitch: | None | Seat Type: | n/a |
Bolt Thread Pitch: | None | Item Type: | ATV Wheel Spacers |
Material: | T6 Aerospace Grade Aluminum | Centerbore: | 85mm |
Highlights![]() ![]() ![]() ![]() |
Manufacturing![]() ![]() |
Quantity | Two (2) Spacers |
Thickness Per Spacer | 5mm (3/16") |
Centerbore | 85mm |
Bolt Pattern | 4x110 or 4x115 |
Material | T6 Aerospace Grade Aluminum |
DO NOT ADD "NOTES TO THE SELLER" DURING CHECKOUTWe strive to ship your order as fast as possible so we utilize an automated processing system. Because of this, these messages are not displayed and will not be seen by any of our staff. If you have questions/requests/comments/information, send us an eBay message or give us a call
Extended Wheel Studs may be REQUIRED. Buyers are responsible for having these for proper installation.
Important Safety AdvisoryAs with any component you purchase for your vehicle, installation should be done by a qualified technician. We've provided the following information as a general reference for purchasing and installing these spacers/adapters. The following list isn't all-inclusive and may be different depending on the vehicle you drive, type of wheels you have, and ideal setup you're trying to achieve. Failure to install properly may cause your lug nuts/spacers to loosen or break while driving. If you are not confident or familiar with the installation, please ask a trained professional for help.
Before PurchasingRequired that proper measurements are taken to ensure that by adding this spacer, the wheel/tire won't hit the fender or any other part of the vehicle.
Before InstallationCheck compatibility of spacer-to-hub, spacer-to-wheel, and lug nuts (thread pitch, seat type)
During Installation- Installation should be performed by a trained professional using proper tools.- Avoid using an impact wrench or any pneumatic tools; improper usage may cause damage to components.- Ensure proper thread engagement. Typically, its a minimum of 5-8 turns before the lug nuts tightens, however, it varies depending on thread pitch and type of vehicle.- ALL Lug Nuts MUST be torqued to manufacture specifications.
After Installation- Test drive your vehicle to ensure the hardware is installed properly. Pay close attention for any noises, vibrations, or compatibility issues (such as fender rubbing).- Inspect and re-torque ALL Lug Nuts after 25-50 miles of driving
Note: No returns or exchanges once product has been installed on the vehicle.