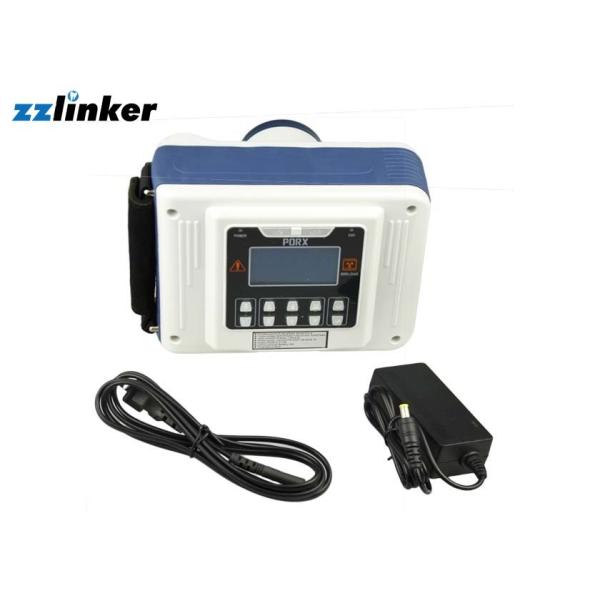
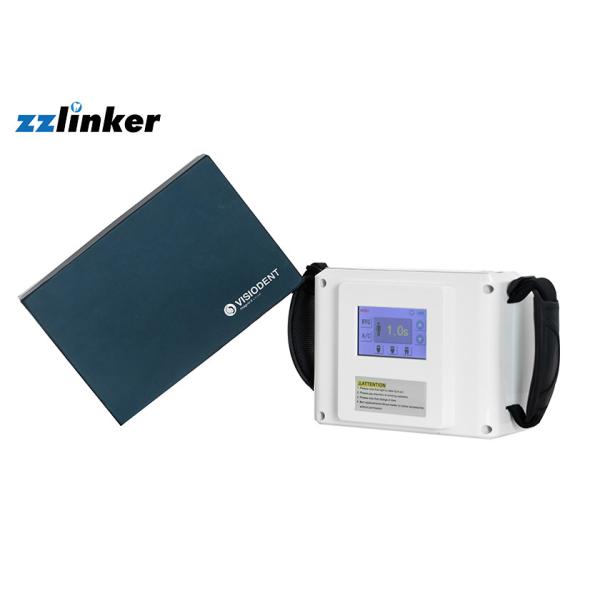
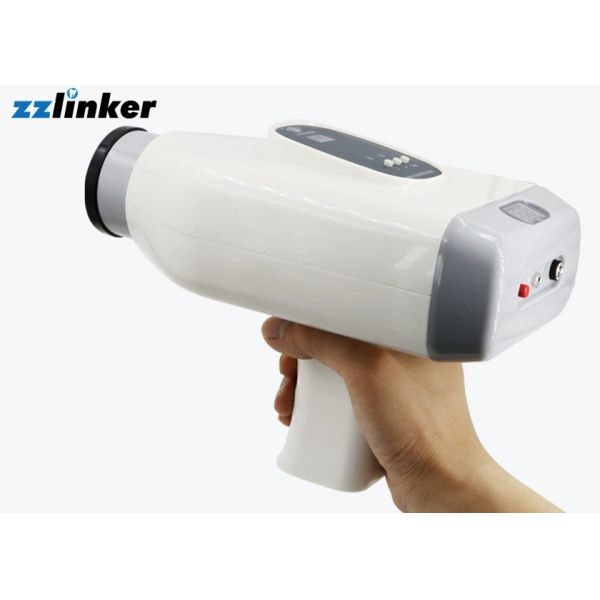
Best HandHeld Dental X Ray Machine LED Display Radiography
The model combines the advantages of similar products at home and abroad, improves the shortcomings of the on-frequency X-ray machine: such as the great current intensity, great amount of junk-ray, etc.. The tube voltage frequency of this machine is 30KHz, and the tube current is 0.1MA. The radiation scope is within an included angle of 24 degrees, within a distance of 1.2 meters ahead. This is pioneering in China as well as in abroad, and is named the "green X-ray machine."
Application | dental area |
Weight | 6kg |
Carton Size | 50*30*35cm |
After-sales service | Online Technical Support |
Operation of the Main Unit
- Upon receiving,open the box and check the product for possible damage during shipping.
- Make sure the fittings on the encasement list are packaged within the box.
- Install the blue ray tube to the foreside of the ball head,then tighten it.
- Turn on the Power;the pilot lamp will be light up.During this time,the digital tube will show the fore setting time. Now the equipment is in standby mode.
- Setting the time (Skip to next step if unneeded) Use the "SET","+",and" -" buttons to reset the time as follows: press SET,the pilot lamp above is illuminated, the machine is now in the time setting mode→then press "+" and" -" to set the time needed (time range is 1-9seconds); press set again when the time is adjusted the light lamp is off. The equipment is now in standby mode.
- Put the Tooth film plumb behind the tooth which is going to be taken picture, and be as close as possible (the smooth side stick to the tooth)
- Keep the ball head plumb to the tooth projection position; Have the ball head,tooth, and tooth film steadily mutually plumb.
- After positioning,use the ON/OFF on the main Unit, to take pictures. (Notice: gently press 0.5 sec to turn it on)
- After exposure to the tube,press the start button again in case of an emergency to stop shooting and return to standby status. (At this point there was no output ray,so the dental films can be used again).
- Repeat step 6 to reset the picturing time.To repeat the picturing process,please repeat steps 7 to 9.
- Turn the power off when the work is finished,press POWER, making sure the pilot lamp is off.Don't keep the machine long in standby mode.
Warranty
We offer a 1 year warranty as follows.
(Note: When warranty expires,we charge for the replacement and repairs of the machine and components.)
The following cases are not within the scope of this warranty:
l Intentional damages to the machine which cannot be repaired.
l Opening the machine for purposes of reverse engineering for means of imitation.
l Getting burned using the wrong power supply.
l Modifications to the machine,such as the addition of extra components to the machine resulting in damage that prevents the normal use