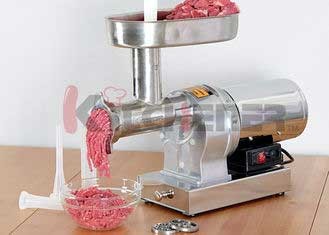
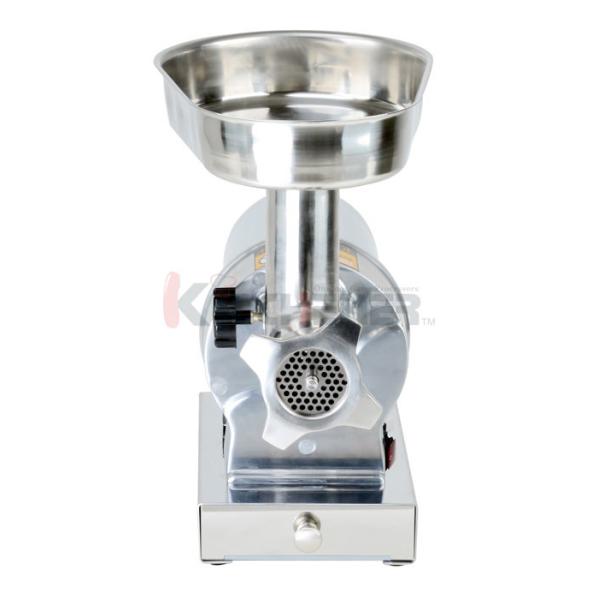
Commercial Grade Meat Grinder Variety of Sausage Funnels Meat Grinding Plate
Before Use:
1 | Disassemble the grinder head and wash each part thoroughly in warm soapy water |
2 | Removing all packing grease and oil from the surfaces |
3 | Dry all parts before re-assembly |
4 | Keep packing material for future storage of grinder and grinder parts |
After Use:
- Disassemble all parts and wash thoroughly in soapy water
- Hand wash parts-Do not put parts in dishwasher
- You must remove all foreigh material from all appliance parts
- Dry all surfaces
- Do not use bleach or chlorine based chemicals to clean
- Discoloration of plastic parts can occur
- Wipe down all non stainless steel parts with a food grade spray
- Alternatively, wipe down with a salad oil to keep from rusting
- Do not immerse motor housing in water. Damage to motor can occur
Description:
- Heavy-duty construction with #12 neck size
- Powerful 2/3 HP(500W) motor
- Grinds up to 5.5lb. of meat per minute
- Reverse function for easily un-jamming your grinder to maximize output
- Includes 2 stainless steel cutting plates 3/16'' & 3/8'', a stainless steel stuffing plate and a stainless steel cutting knife
- Comes with a set of 3/8'', 3/4'' and 1-1/8'' stuffing tubes
- Meat stomper included for accessories storage
- Item# 52021250
Specifications:
Item number | MG-204191 | MG-204185 | 52021250 |
Rate Power | 400W | 500W | 500W |
Master Pack | 4pcs/ctn | 4pcs/ctn | 1pc/ctn |
Measure | 19''x17''x17'' 485x435x435mm | 20''x18''x16'' 500x445x410mm | 16''x13''x14'' 410x335x345mm |
Assembly Instructions:
- Insert grinder head into gear housing; be sure that the hopper tray throat is facing upward. Hold grinder head with one hand, place locking knob into the hole on the side of Motor Housing and tighten it clockwise (See Fig 1).
- Insert auger into the grinder head. You may need to turn the auger to align it with the drive shaft of the motor (See Fig 2).
- Place cutting knife blade onto Feed Screw shaft of the auger with the Flat edge of blade facing the front (See Fig 3).
- If blade is not seated properly, meat will not be ground.
- Place desired grinding plate next to Cutting Blade. The notch in the plate should align with the protrusion on the grinder head (See Fig 4).
- Firmly screw ring cap onto grinder head. Do not over tighten (See Fig 5).
- Insert the Hopper meat tray onto the throat of the head (See Fig 6)

Sausage Stuffing Directions
1 | Properly prepare casings as directed on casing packaging |
2 | Place artificial or natural intestines onto sausage funnel |
3 | Load hopper with prepared meat and feed meat into grinder head opening before operating unit |
4 | Do not operate grinder without meat in grinder head |
5 | Damage to auger and/or motor can occur |
6 | Plug in and turn switch to on position when ready to start |
7 | Begin to feed sausage mixture into the hooper opening |
8 | Hold the casing on the sausage tube in one hand and slowly let the meat output pull the casing from the tube |
9 | Fill casing as desired by holding casing back on tube |
10 | Twist or tie the sausage into links as desired |
11 | Tie end of casing into a knot |
12 | It is recommended that 2 people perform sausage stuffing |
13 | Add small amounts of water to your ground meat when stuffing sausage to improve output of meat through sausage stuffing tube |