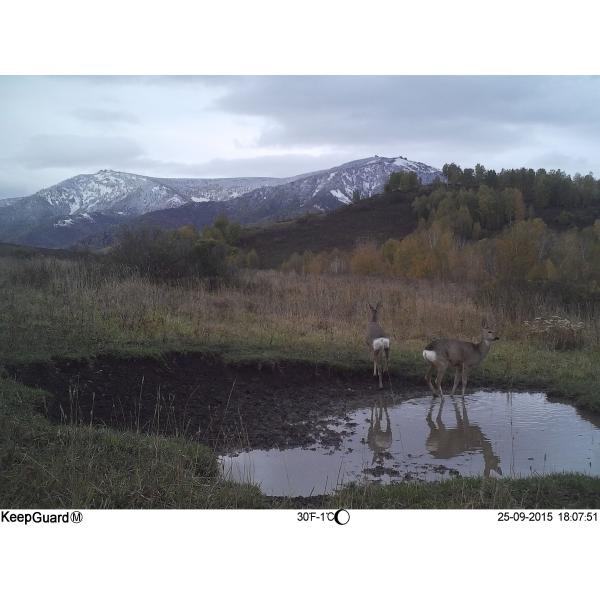
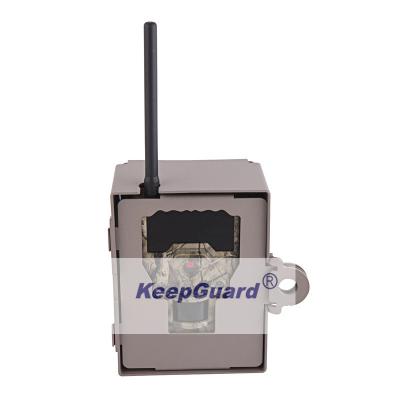
Lens:
f=7.36mm, FOV=55°
Auto IR-cut-remove (at night)
Viewing:
LCD display: 2.4” color display
TV output computer output: USB2.0, net cable connect
Night time illumination system:
IR-flash range: 25--30M
IR-LED: 33pcs no glow (940nm) IR LEDs
Three Basic Operational Modes
· OFF Mode: Power OFF mode.
· ON Mode: Active Passive Infrared Mode.
· SETUP Mode: SETUP/TEST Mode,you can set up camera or playback the photos or videos clips.
MOUNTING AND POSITIONING the CAM
Mounting
There are two ways to mount the Cam.
the Cam. Thread one plastic buckle part onto each end of the belt. Fasten the belt around
the tree trunk by clicking the buckle ends together.
on a tripod or other mounting accessories with a standard 1/4-20 thread.
Sensing angle and distance test
This test is recommended to check the sensing angle and monitoring distance of the Cam. To perform the test:
1.Switch the Cam to the SETUP mode.
2.Make movements in front of the camera at several positions within the area where you expect the
game or subjects to be. Try different distances and angles from the camera.
3.If the motion indicator LED light blinks, it indicates that position can be sensed. If it does not blink, that
position is outside of the sensing area.
The results of your testing will help you find the best placement when mounting and aiming the Cam.The
height away from the ground should vary with the animal size appropriately. In general, 3 to 6 feet is preferred.
Switching on the camera
Once you switch to the ON mode, the motion indicator LED (red) will blink for about 10 seconds. This gives you
time to close and lock the front cover of the Cam and then walk away. After it stops blinking, the PIR is
active, and any motion that is detected by it will trigger the capture of photos or videos as programmed.
VIEW /DELETING IMAGE OR VIDEO ON THE CAMERA LCD SCREEN
There are three ways to review pictures or videos captures
Use the camera LCD screen to View/Delete Image or Video
1.Put the power switch in SETUP mode (switch to OFF first).
2.Push the OK (Replay) key to enter image review mode.
3.Use the UP/DOWN keys to scroll through your photos or videos. Press the
RIGHT (Shot) key to review a video.Press OK to return
4.Push MENU to enter the Delete mode. You will see the first ″Delete″ screen, press the OK. Highlight the “Delete Current” or “Delete All” option, then press OK.
KG785 SPECIFICATIONS
Maximum image size | 16MP |
Lens | f=7.45mm;F/NO:3.2;FOV=55°; Auto IR-Cut-Remove (at night) |
IR-Flash Range | 9m-21m;36 LEDs |
Display Screen | 2.4 inch HD Color Display; |
Memory Card | SD or SDHC Card, Maximum capacity 64GB |
Internal Memory | 0 |
Image Size | 16MP(4608x3456); 8MP(3264×2448); 3M(2048X1536); |
Image Recycle | ON/OFF |
Image Format | Full Screen/Wide Screen |
Video Size | 1920X1080;1280x720;640x360 |
PIR Sensitivity | PIR with 4 sensitivity levels: High/ Normal/ Low/Auto |
IR LED Control | High/Medium/Low |
Operation | Day/Night |
Response Time | <0.3s |
Triggering Interval | 1s-60m programmable |
Shutter Speed | 1/10-1/2000sec. |
Capture Numbers | 1-9 programmable |
Video Length | 5-60sec. programmable |
Power Supply | 8×AA recommended; |
Stand-by current | <0.09mA |
Power Consumption | <180mA(+800mA when IR-LED Lighted) |
Timed Scan | 2X;programmable |
Temperature Display | programmable |
Password | programmable |
Camera Name | Input |
Moon Display | programmable |
Audio Video | programmable |
User Interface | LCD display |
Interface | USB;SD card holder; |
Security | Strap |
Operating Temperature | -20-60℃(Storage temperature:-30-70℃) |
Operating Humidity | 5%-90% |
Security Authentication | FCC/CE/RoHs/WEEE |