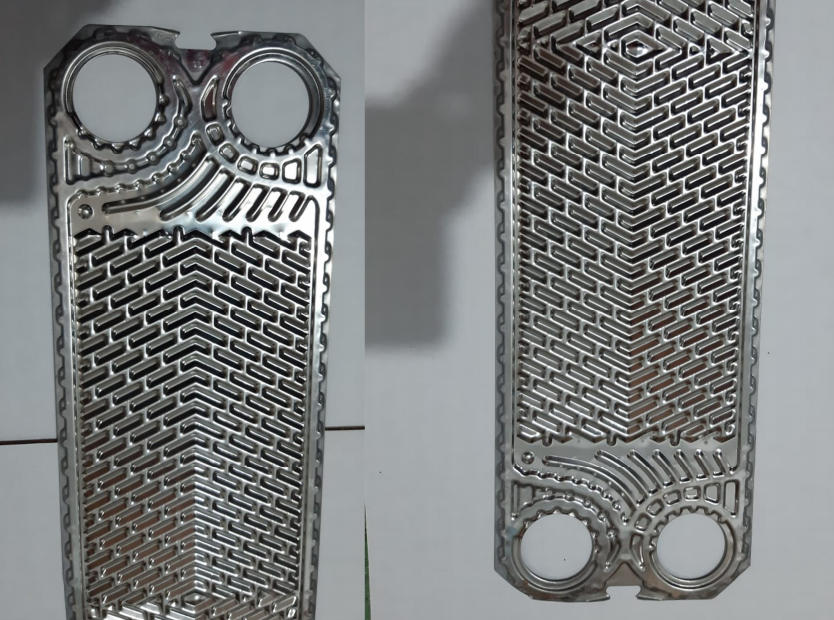
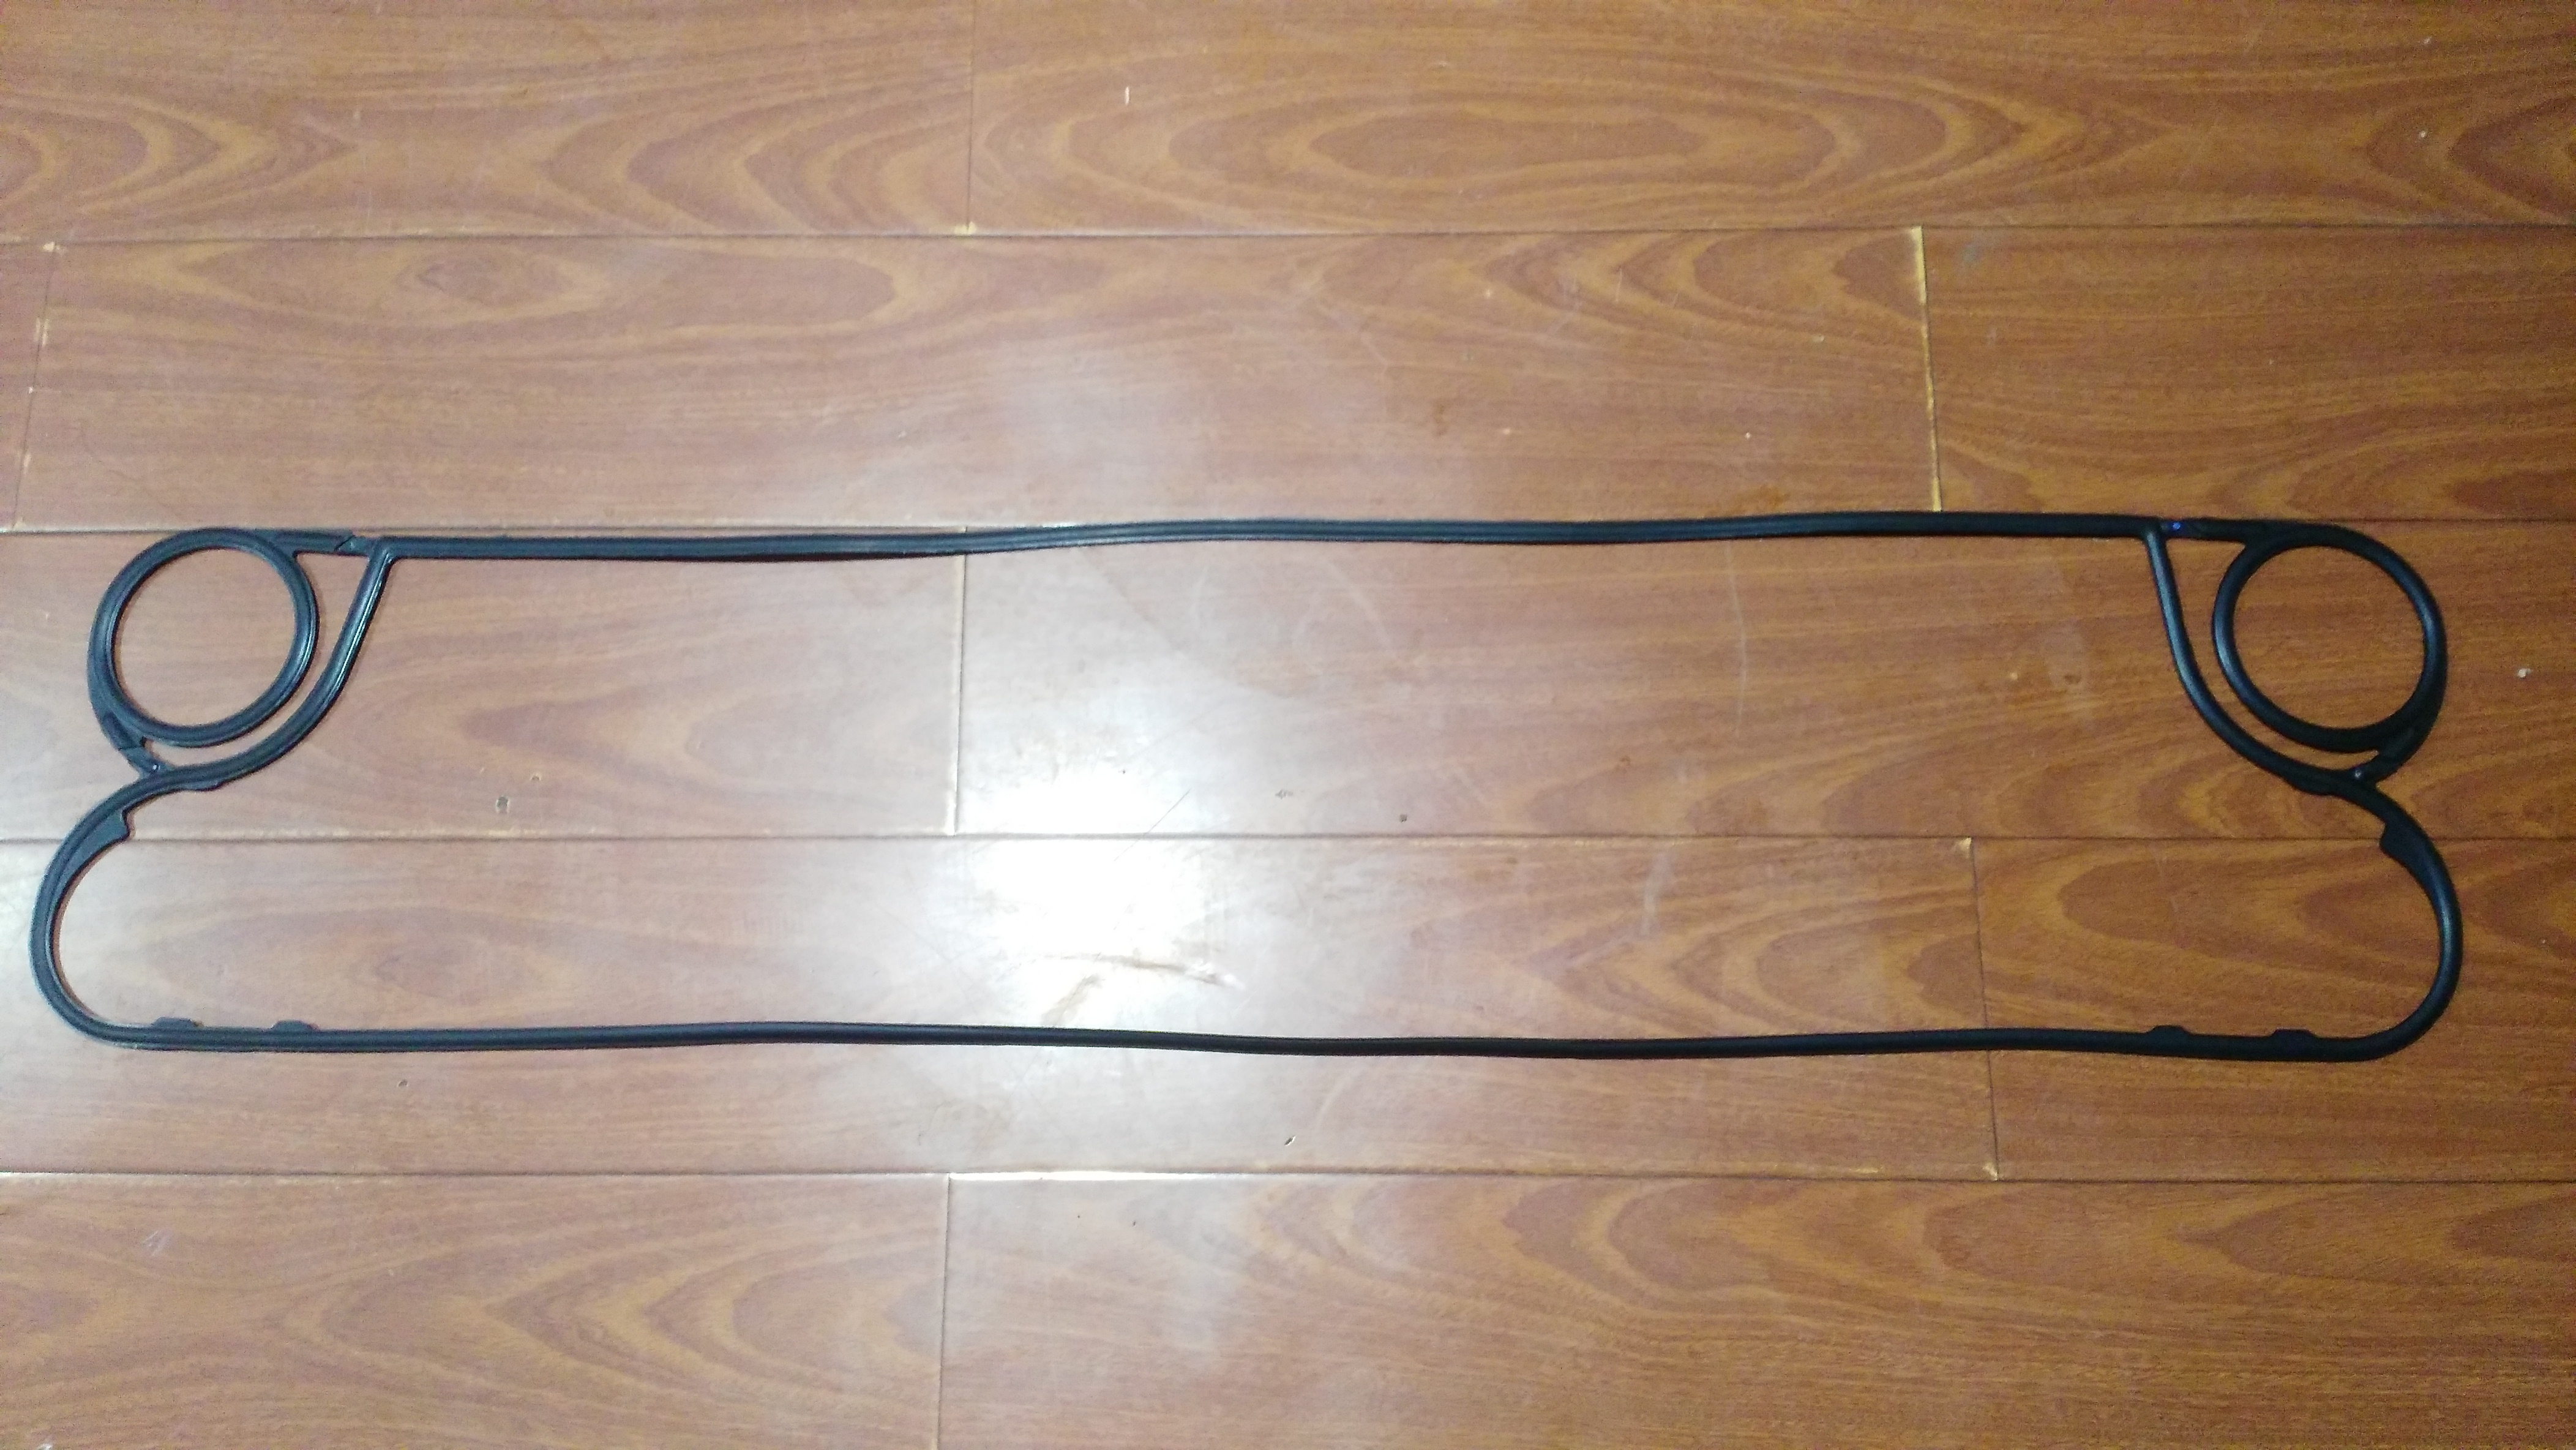
Special model chemical industry widegap channel corrugated plate heat exchanger Fischer E-18
E18 Plate Heat Exchanger Introduction
E18 plate heat exchangers are specifically developed and optimized for the food industry. A v ery wide range of different systems can be offered. Plate surfaces from 0.05㎡ to 1.5㎡ and throughputs up to 500m³/hr are available.
E18 Plate Heat Exchanger Gasket And Plate Parameter
Rubber Type | NBR | EPDM | VITON/FKM | HNBR |
Application Temperature | -20°C- +130°C | -50°C-+150°C | -30°C-+251°C | -15°C- +160°C |
Fluid Media | Water Sea water Mineral oil Salt brine | Hot water Steam Acid Alkali | High temperature resistance Strong oxidants Oil Acid and alkali | High temperature mineral oil and water |
Feature | Easier to replace than the traditional gasket, high pressure, high temperature, longer life, should not be leaked |
Material of Plate | Suited liquid Kinds | |
Stainless Steel(SUS304,316 etc) | Pure Water,Normal Water,Mineral Oil etc | |
Ti,Ti-pd | Sea water,Saline water,Mineral water etc | |
20Cr,18Ni 6Mo(254SMO) | Dilute Sulphuric Acid,Organic water solution etc | |
Ni | High-temp and concentration caustic soda | |
Hastelloy alloy(C276,D205,B2G) | Concentrated sulfuric acid,Hydrochloric acid,Phosphoric acid | |
Thickness of plate | 0.5mm/0.6mm/0.7mm/0.8mm/0.9mm/1.0mm | |
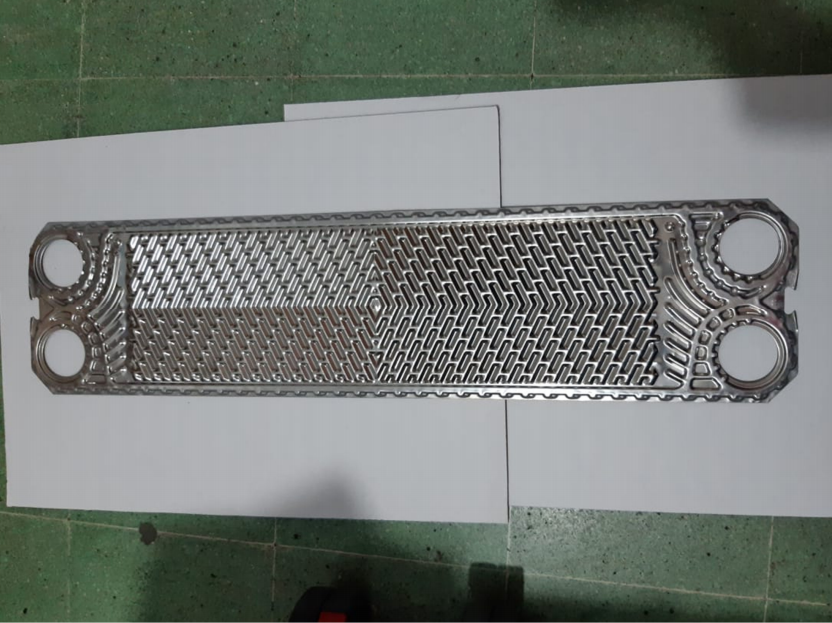
Plate Shape Size | 978*232mm | |
Plate Center Size | 870*122mm | |
Transfer Area | 0.18㎡ | |
Angle Hole Diameter | Φ65 | |
Gasket Thickness | 4.4mm | |
Working Pressure | <= 25 bar | |
Plate Theta | Low Theta and High Theta | |
Plate Hole | Channel Plate with 4 Holes, End Plate without holes |
E18 Plate Heat Exchanger Advantage
Compact design | High thermal efficiency |
De-mountable for cleaning and maintenance | Can have additional heat transfer plates added if required |
Suitable for hygienic and industrial applications | Suitable for use with steam |
Food-safe material | CIP system-adaptable |
Simple cleaning | A quality product |
Low maintenance costs | Long service life |
Profile variations for highly effective flow relationships | Special plates for steam condensation |
Advantageous price/Performance ratio | Friendly service |
High operational safety | Compactness |
High effectiveness | Wide-ranging application possibilities |
Food-proof materials | CIP-able |
Easy cleaning | Austrian high quality product |
Low maintenance costs | Long lifespan |
Various profiles available | Different technologies of gaskets |
Plate surface from 0.05㎡ to 1.5㎡ | Throughput up to 500m³/hr |
Special plates for steam condensers |
How to install E18 Plate Heat Exchanger When Maintance?
1 Disconnect pipework from pressure plate
• disconnect pipework from pressure plate
Taking Out Heat Exchanger Plates
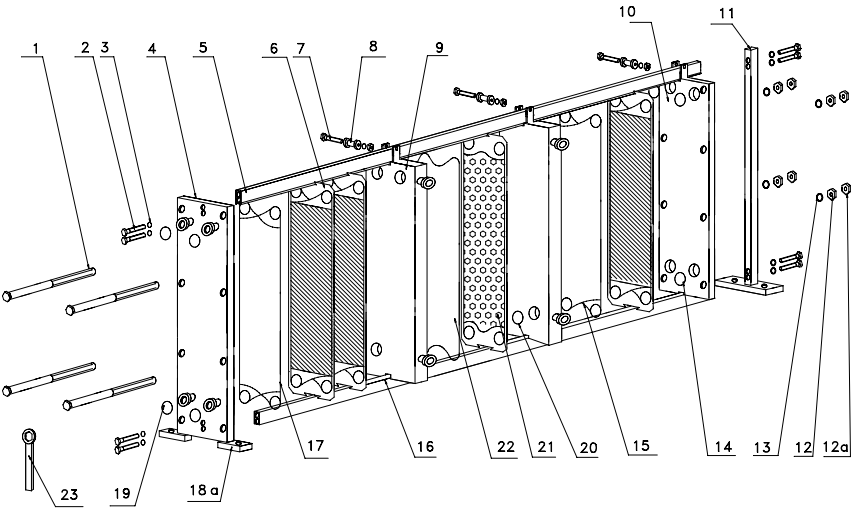
• remove the nuts (12a) versus clockwise
• losen all nuts for tensioning bolt (12) crosswise
• unscrew nuts for tensioning bolt (12) from tensioning bolt (1)
• remove washer for tie bar (13)
• remove tensioning bolts (1)
• push pressure plate (10) away from plate pack
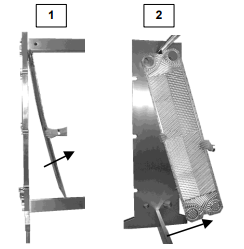
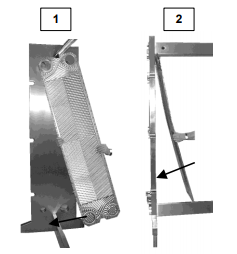
• swing out first heat exchanger plate at bottom 20 - 30 cm in longitudal
direction [1]
• swing out plate laterally under an angle of
30 - 45° [2]
• take the plate off the frame
• remove plate by plate in the same manner
• observe the sequence and face position of plates - after cleaning they must be
installed back the same way
2 Cleaning of Heat Exchanger Plates
• rinse each plate with a suitable detergent (must neither attack gasket nor plate) information about suitable detergents can be obtained from Heat Exchanger manufacturer
• clean plates with a soft brush
• gaskets not to be exchanged:
- avoid soaking of plate in cleaning solution
• gaskets to be exchanged:
- soak plate in hot cleaning solution (approx. 100°C)
• at thick layers of scaling :
- soak plate in hot cleaning solution (approx. 100°C)
DO NOT use:
- steel brush
- steel scraper or similar
3 Re-assembling
• re-install again the cleaned plates
observe
- original sequence and position of each plate (as per numbers and plate arrangement drawing)
- gaskets installed and in good order
• fit individual plates (lateral insertion under 30 - 40°inclination)
• push pressure plate (10) to the plate plack
• re-insert tensioning bolts (1) back in lateral slots
• fit washers for tensioning bolt (13) to the tensioning bolts (1)
• tension the plate pack with the nuts for tensioning bolt (12)
- uniformly
- crosswise
- observe parallelism between pressure plate (10) and frame plate (4)
• observe tesnioning limit on name plate
• avoid:
- overtensioning (below min. tensioning limit on name plate)
- too little tensioning (above max. tensioning limit on name plate)
• fix the nuts for tensioning bolt (12) by mounting the nuts (12a)
• connect pipework again
• start up Heat Exchanger as per section 6