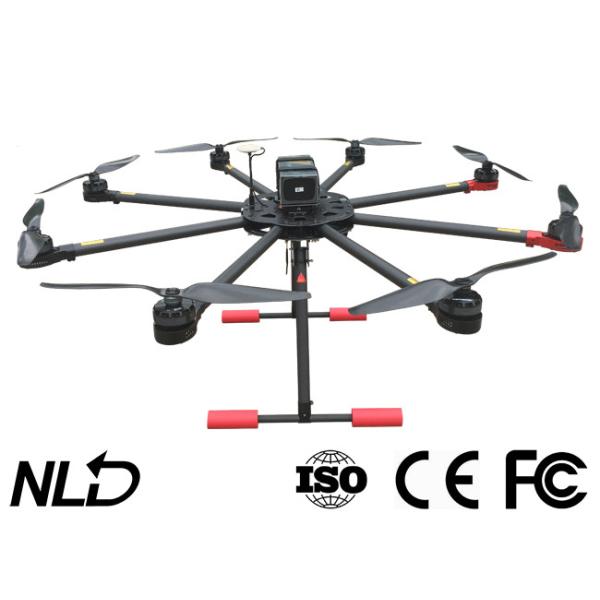
8 Axis Powerline Drone Unmanned Aerial Vehicle for Overhead Line Construction Pilot Rope Traction with Rope Take-up Reel
Quick details:
Material: Carbon fabric;
Remote controller: 1500m;
Max payload: 8kgs;
Battery: Lithium 22.2v 16000mAh 6S *2
Specification:
Body material | full carbon fiber | Take-off and landing mode | vertical takeoff and landing |
Camera | Yes | Remote controller range | ≤1.5km |
Flight control+GPS | DJI-NAZA V2 | Max Flight Weight | 8kg |
Package | aluminum case | Battery Type | lithium 22.2V 16000mAh |
Remote control | Yes | Load Flight Time | 15-20 minutes |
Ground display | Yes | Max Flight Speed | 14m/s |
Working Temperature | -40℃—60℃ | Relative Flying Height | 2000m |
Charger | Dual Channel | Flight navigation control accuracy | Vertical 0.5m, Horizontal 1m |
Operation Instruction
Note: Before operation, please confirm that the weather is good, no rain (this machine is not waterproof). Environmental factors such as wind power can affect the battery life.
Step 1. Check if the installation is correct
Any of the following errors can lead to serious accidents:
(1) The propeller is installed incorrectly.
(2) The antenna and connector are not firmly connected to the body or fall off.
(3) The compass is magnetized.
Make sure the body is in good condition:
1. The GPS situation is good (more than 7 satellite signals take off).
2. All connections are correct and in good condition.
3. Check if the propeller is tightened (but not excessively tightened) and the propeller is installed correctly.
4. Whether the battery, remote control, power battery, and mobile phone are sufficient.
5, the fuselage motor seat and landing gear with or without signs of cracking.
6. There is no obvious debris inside the motor. If it is, it should be removed in time.
7. Whether the surface of the propeller is obviously damaged or not, and there is no slip on the surface of the screw.
8, boot sequence: first turn on the remote control power, then turn on the aircraft power.
9. Shutdown sequence: first disconnect the power of the aircraft and then turn off the power of the remote control.
Step 2. Calibrate the compass and record the return point
Remember:
(1) Please do not calibrate in areas containing ferromagnetic materials, such as magnetic mines, parking lots, and building areas with underground reinforcement.
(2) Do not carry ferromagnetic substances, such as keys, mobile phones, etc., while calibrating.
(3) The compass module cannot work normally in the Arctic Circle.
(4) Compass calibration is very important, otherwise the system will not work properly.
Steps:
1. Select the position of the takeoff point, open and flat, and have a good view.
2. Open the drone folding wing to the open state and lock it, loosen the screw at the top of the bracket, and open the bracket and fix it with screws.
3. Turn on the power of the remote control and the on-screen switch. Check that the screen displays 4 "0" (if not, adjust it to 0). The antenna of the remote control should be kept parallel with the remote control.
4. The drone is connected to the battery and connected to the flight control system power supply.
5. Calibration compass: F file quickly 3-5 times up and down until the drone LED indicator light is steady on, enter calibration mode
6. Record the return point:
①horizontal (Fig. 1): The operator picks up the drone and turns 360 degrees horizontally to 1-2.5 turns (as far as possible to keep the head direction parallel to the ground) until the LED turns green.
②vertical (Fig. 2): The operator picks up the drone and turns the horizontal 360 degrees to 1-2.5 turns (as far as possible to keep the head perpendicular to the ground) until the LED turns green.
7. Wait until the LED green light flashes and the green light flashes slowly before taking off. (If the calibration fails and the red light continues to flash, return to step 5 to recalibrate.)
Workshop:
Take up reel