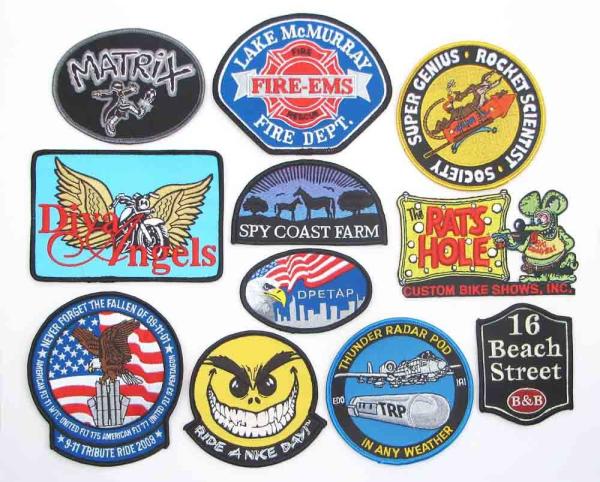
Heat Transfer Clothing Embroidered Patches School Club Uniform Uniform Badge Patches
Product Name | Customized embroidery patches |
Material | Embroidered Patch |
Embroidered area | 30% ,50% ,75% ,100% |
Background | Twill, Felt, Camouflage, Cotton, Velvet, Reflective, Satin, Gingham |
Border | Merrowed border, Die cut border, Heat cut border and laser cut border |
Sample | 2-3 days |
MOQ | 100pcs |
1, Design: Embroidered patches come in a wide variety of designs, ranging from simple shapes and letters to complex images and logos. can be customized to include text, images, and colors that reflect the wearer's preferences.
2, Fabric: Embroidered patches are made from a variety of fabrics, including cotton, polyester, and twill. The fabric is usually chosen based on its durability and ability to hold the embroidered design.
3, Thread: Embroidered patches are created using different types of thread, such as cotton, polyester, and metallic. The thread is chosen based on its strength, color, and ability to create the desired effect.
4, Backing: Embroidered patches typically have a backing that is used to attach them to clothing items. Common backing materials include heat-seal adhesive, Velcro, and sew-on.
5, Size: Embroidered patches come in a variety of sizes, ranging from small patches that can be placed on a collar or cuff to larger patches that can cover the back of a jacket.
6, Application method: Embroidered patches can be applied to clothing items using different methods, including sewing, ironing, and gluing. The application method is typically chosen based on the type of fabric and the desired level of durability.
How to iron on the patch
1. Place the patch on positon you choose.
2. Heat up the iron into 160-200℃
3. Place a thin towel or damp woven over the patch.
4. Position the iron on and press down for 30 seconds.
5. Remove the iron and check the tightness when patch cool down.
6. If it doesn't works, repeat the step 3 and 4 to get good effect.
Order Process:
1) Confirm your artwork details such as size, border(heat cut, hand cut), backing(iron on, sew on...) and quantity...
(2)After your payment done we move to your sample production, we need digitizing you artwork from jpeg image etc into embroidery files
(3)Put your embroidery file into the embroidery machine, it(the machine) work automatically to finish the first period sample production
(4)Put iron on backing(a kind of glue will melt with heat) and cut(may be laser cut, hand cut, heat cut...) from the fabric, you sample is made successfully
(5)Send the sample pictures for your confirmation, then we go ahead with your mass production only after your confirmation for the samples
(6)Mass production will redo the step 3 and step 4
(7)Sent you the goods after mass production
Company Profile
Certifications