Inflatable Play Castle
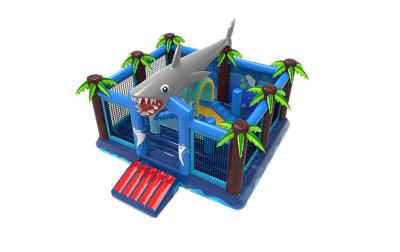
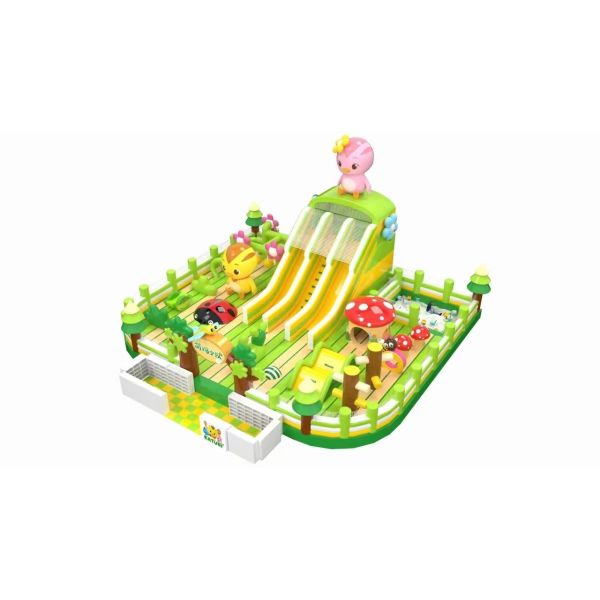
The orange inflatable castle occupies a large portion of the image, with two small turrets on top adding to the playfulness of the structure. In the front of the castle, there is a large slide that children can quickly descend into the ball pit below.
The ball pit is filled with multicolored plastic balls, resembling a joyful ocean where children can roll and play to their heart's content. On one side of the inflatable castle, there is a climbing wall equipped with handles of different colors for children to challenge their climbing skills.
Other parts of the equipment include several tunnels through which children can explore, enhancing the interactivity and sense of adventure of the game. Surrounding the area are small obstacles designed in various shapes and heights for children to navigate through, exercising their physical coordination and agility.
The entire playground is covered with soft padding to ensure safety for the children as they play. In the background, there are simple decorations such as balloons and ribbons, which add to the festive atmosphere of the playground.
The cartoon tiger character has a beaming smile and appears very friendly. Its presence is likely intended to attract the attention of children, making them feel familiar and secure.
Specifications:
Material | PVC Tarpaulin |
Size | 11.5*7.3*3m or Customize |
Color | As the picture shown or customized |
Printing | Drawing printing |
Package | Strong PVC bag for inflatables, carton for blower |
Accessories | Blower, repair kit (spare material and glue) |
Blower | CE:220-240V UL: 110-115V |
OEM | available |
Workmanship | Double Stitching |
Certificates | CE, SGS, EN14960 |
Set uptime | About 10 mins, depend on the Amusement park size |
MOQ | 1 Piece |
Payment | T/T, 30% deposit and 70% balance when shipment |
Shipment | By sea, by air or by express |
Warranty | 2 years |
Application | Outdoor and indoor amusement for kids and adults |
Why choose us
1. Speedy Response Guarantee: With a professional team having fluent English, your inquiry will be answered within 12 hours.
2. Customization Option: Customized services are highly welcome and will be an option. The size and color can be customized, and customers can use their logo or slogan on the tent.
3. Metal Rings for Stability Enhancement: Each product is equipped with thick D - rings for grounding and to enhance stability.
4. Printing Quality Assurance: We can print anything you want, very clearly and vividly. As we use the best - quality printing machine, it prints fast and with good quality.
5. Warning and Logo Placement: Using either our logo or your logo is acceptable, and we will place them on the inflatables. If you have a specific demand for the logo position, please let us know.
6. Warranty and Support: There is a 2 - year warranty with a free repair kit. The professional team also provides after - sales support.
7. Strict Quality Control Standard: The professional QC test team ensures high - quality products and the best packaging for all shipments according to strict quality control standards.
8. Durable Packaging Solution: Generally, the outside package is a PVC bag, which is a durable solution. If you have a specific requirement regarding it, please tell us. Thanks.
FAQ
Q: How to repair when damage?
A:
Step 1: Identify the Damage
Thoroughly inspect the inflatable to locate any tears, punctures, or leaks.
Step 2: Clean and Dry the Area
Clean the damaged area with mild soap and water to remove dirt or debris. Allow the area to dry completely before proceeding with the repair.
Step 3: Patch the Damage
Apply a patch specifically designed for inflatable repairs over the damaged area. Make sure the patch is slightly larger than the damaged area to ensure proper coverage. Press the patch firmly onto the surface, smoothing out any wrinkles or air bubbles.
Step 4: Apply Adhesive
If using a patch that requires adhesive, apply a thin, even layer of adhesive to both the patch and the inflatable surface. Allow the adhesive to become tacky before pressing the patch onto the surface.
Step 5: Allow Time to Cure/Allow the Adhesive to Dry
Once the patch is in place, you'll need to allow the adhesive to dry completely. This may take several hours, depending on the type of adhesive you are using. It's important to avoid using the inflatable until the adhesive is completely dry, as this could cause the patch to come loose. Wait at least 1 hour before inflating again.
Step 6: Test the Repair
Once the patch has cured, inflate the inflatable and check for any signs of leakage. If the repair holds, the inflatable is ready to be used again.
It's important to use repair materials specifically designed for inflatables and follow the manufacturer's instructions carefully to ensure a successful repair. If the damage is extensive or beyond your ability to repair, consider seeking professional assistance.
-
Q: Accessories included?
A: Free accessories include Storage Bag / Repair Kit / Warning Label / Custom Logo