Inflatable Play Castle
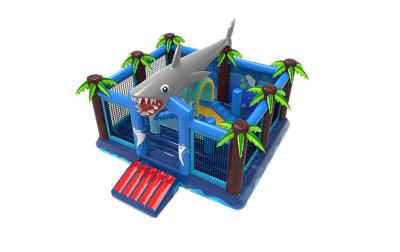
The picture shows an inflatable castle. This inflatable castle mainly uses red and white as the main colors, and is designed to look like a cute little dog. There is an entrance on the front of the castle, and on the top there are two structures shaped like “dog ears” in white, with red paw - print patterns printed beside them. On one side of the castle, there is a protruding dog - head shape, which looks very vivid and interesting. The overall design is full of childlike fun and suitable for children to play.
Specifications:
Material | PVC Tarpaulin |
Size |
7*5*5m or Customize |
Color | As the picture shown or customized |
Printing | Drawing printing |
Package | Strong PVC bag for inflatables, carton for blower |
Accessories | Blower, repair kit (spare material and glue) |
Blower | CE:220-240V UL: 110-115V |
OEM | available |
Workmanship | Double Stitching |
Certificates | CE, SGS, EN14960 |
Set uptime | About 10 mins, depend on the Amusement park size |
MOQ | 1 Piece |
Payment | T/T, 30% deposit and 70% balance when shipment |
Shipment | By sea, by air or by express |
Warranty | 2 years |
Application | Outdoor and indoor amusement for kids and adults |
Details:
1.The 0.55mm PVC tarpaulin shows excellent functions such as waterproof, fire-retardant, anti-rupture, and light-proof, which makes it applicable in different weather.
2.To inflate, turn on the blower connecting tube; to deflate, turn off the blower.
3.Many D-rings are provided at the bottom and top to act as anchors. Use a rope to tie a weight to prevent it from being blown away by strong winds.
4.The joints are enhanced with double stitching, so it's easy to fix if there is any damage.
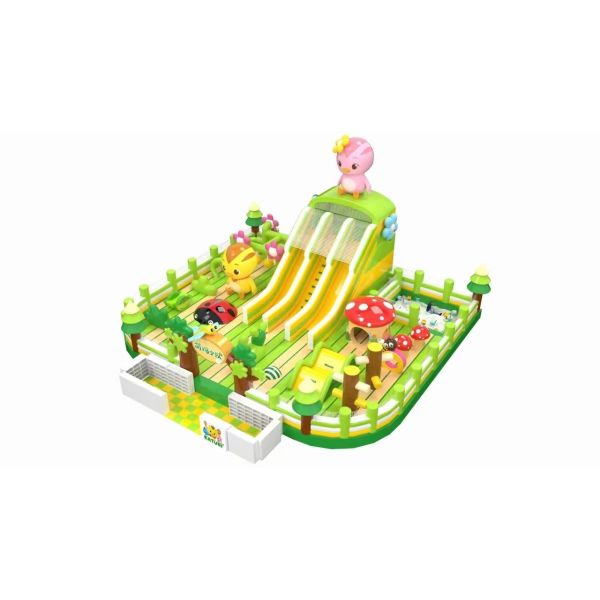
5.There are different attractive colors and artworks, like the amusement park in the picture.
6.It is reliable, for we have passed CE, EN14960, and SGS certifications.
7.Every product will be tested before being dispatched for delivery.
FAQ
Q: How to repair when damage?
A:
Step 1: Identify the Damage
Thoroughly inspect the inflatable to locate any tears, punctures, or leaks.
Step 2: Clean and Dry the Area
Clean the damaged area with mild soap and water to remove dirt or debris. Allow the area to dry completely before proceeding with the repair.
Step 3: Patch the Damage
Apply a patch specifically designed for inflatable repairs over the damaged area. Make sure the patch is slightly larger than the damaged area to ensure proper coverage. Press the patch firmly onto the surface, smoothing out any wrinkles or air bubbles.
Step 4: Apply Adhesive
If using a patch that requires adhesive, apply a thin, even layer of adhesive to both the patch and the inflatable surface. Allow the adhesive to become tacky before pressing the patch onto the surface.
Step 5: Allow Time to Cure/Allow the Adhesive to Dry
Once the patch is in place, you'll need to allow the adhesive to dry completely. This may take several hours, depending on the type of adhesive you are using. It's important to avoid using the inflatable until the adhesive is completely dry, as this could cause the patch to come loose. Wait at least 1 hour before inflating again.
Step 6: Test the Repair
Once the patch has cured, inflate the inflatable and check for any signs of leakage. If the repair holds, the inflatable is ready to be used again.
It's important to use repair materials specifically designed for inflatables and follow the manufacturer's instructions carefully to ensure a successful repair. If the damage is extensive or beyond your ability to repair, consider seeking professional assistance.
-
Q: Accessories included?
A: Free accessories include Storage Bag / Repair Kit / Warning Label / Custom Logo