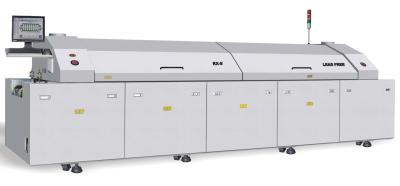
PCB Lead Free 5 Zones SMT Reflow Machine Forced Air Coooling Type
PCB SMT Reflow Oven Equipment 5 Zones Lead Free Oven for Assembly Line
Specifications of Reflow Oven RF-H500I
Modle | RF-H500I |
Machine Dimension (mm) | 4150*1490*1510 |
Weight (kg) | Approx.1500 |
Heating Zone Length (mm) | 1752 |
Running / Starting Power (kw) | 5.5 / 24 |
Control | PLC + PC |
Temp Range | Room Temperature ~ 320C |
Temp Accuracy | ± 1C |
Temp Deviation | ± 2C |
PCB Width (mm) | 50 - 400 ( or customized ) |
Cooling Type | Forced-air Coooling |
Cooling Zone length ( mm ) | 600 |
Conveyor Type | Chain and Mesh Belt |
Conveyor Speed (mm/min ) | 20-1500 |
Mesh Belt Width ( mm ) | 460 ( or Customized ) |
Parts Height | On Baoard 35mm / Under Board 20mm |
Power Supply | 3P/AC 380V OR 3P/AC 220V |
Options Available | 450/500 max PCB width Central support for big PCB Extra cooling zone |
Some Information about the Reflow Oven RF-H500I
User-Friendly Design: fault detection (such as heaters abnormal alarm,etc.), regular maintenance reminders, the economy functions and tool-free maintenance, reducing equipment failure rates.
Hea Tign Modul E: Transverse reflow design makes temperature from eachzone is not influenced by neibour to ensure accurate temperature curve, whileensuring a high production capacity and heat exchange capacity to achievehigh adaptability (to meet the soldering of automotive, communications,electronics, computers and mobile phones consumer electronics.)
Hot air motor with independently inverter controlled, set operating frequenciesdepending on different technology to meet a variety of lead-free processes.
Machine using zero gas source design, furnace cover with motor lifting, safetyrod support, providing significant security.
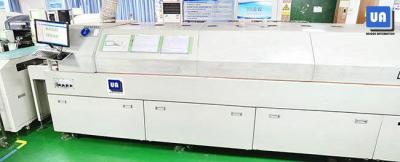
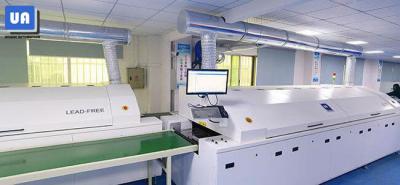
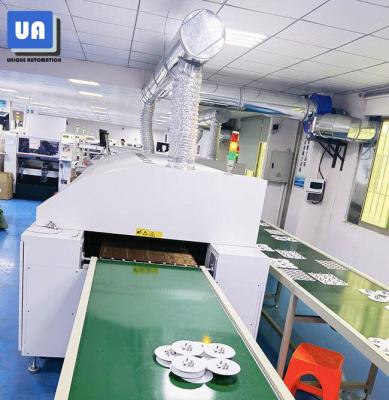
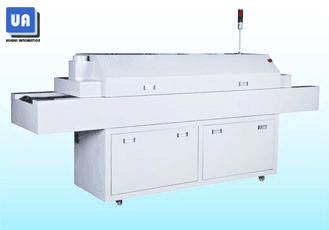
Photo of Reflow Oven RF-H500I
The Picture of Reflow Oven RF-H500I
Reflow soldering boot
(1) Turn the main power switch (CONTROL) to the ON position, and press the UPS power switch to "UPSON" above Is. The machine enters the running state and enters the main window of the control system.
(2) Check the main screen of the work, and set whether the temperature and speed of the PD3213B are consistent with the required working status of the printed board. If they do not match, click "File", a drop-down menu will pop up, and select the "Open" command to display the "Open" dialog box. Click the scroll bar and select the saved heating parameter file. Click the "Cancel" button to return to the main window.
(3) Check the main work screen again to see if the set temperature and speed are consistent with the required working status of the printed board.
(4) Select the "Panel" command to display the "Operation Panel" dialog box. "Manual/Timing" switch: switch to "Manual". "ON/OFF" switch: switch to "ON". "Heating on/heating off" switch: switch to "heating", at this time the "fan" and "conveying" switches are automatically turned on. The equipment starts to operate, and the yellow light of the three-color lighthouse is on. Observe the operation of the equipment, heating and heating, until the temperature reaches the set value, the green light of the lighthouse is on.