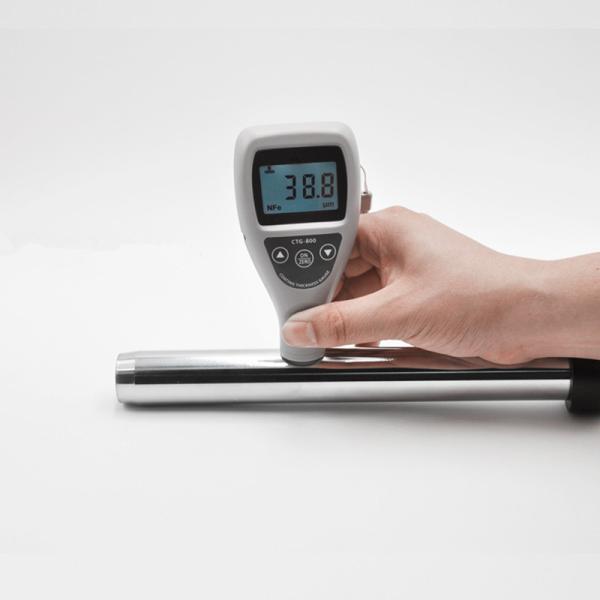
Integrated Fe Probe Ferrous Metal Thickness Tester With One Specimen Calibration
New system Integraded Fe Probe Coating Thickness Gauge With One specimen Calibration
Coating thickness gauge Leeb250 (Fe) is a professional instrument for testing the Non-magnetic coating layer on magnetic substrates, such as aluminum, chromium, copper, zinc, tin, rubber, paint on the steel, iron, alloy and magnetic steel. Easy and quick for operation.
Functions & Features
● New system with high accuarcy.
● Easy and quick for operation.
● Two measuring methods:continuous and single.
● One specimen Calibration.
● Automatic back-light.
● Switch off automatically or manually.
Measuring Materials
Magnetic Induction (Fe): Measuring the thickness of Non-magnetic coating on magnetic metal substrate,such as aluminum, chromium, copper, zinc, rubber, paint on the base of steel, iron, alloy and magnetic steel
Technical Parameters
Technical Parameters |
Model No. | Leeb250 |
Measuring principle | Fe |
Measuring range (µm) | 0~1250μm or 0~50mil |
Accuracy | ±(3%H+1) μm; H refers to the thickness of testing piece |
Minimum resolution (µm) | 0.1μm ( 0-99.9μm); 1μm ( 100-1250μm) |
Min curvature of the min area (mm) | Fe: Convex1.5 Concave25 |
Temperature | 0~40℃ |
Min thickness of substrate (mm) | 0.5 |
Environment | No strong magnetic field |
Dimensions | 130*70*39 mm |
Power supply | 2*1.5v AAA battery |
Standard Configuration | Main Machine, Calibration specimens*5, FE/NFE Substrate, Users’ Manual, Qualified Certificate, Packing list, Warranty card |
1. Test
Power on the gauge. Press the probe steadily on a coating layer to be measured. The reading on the display is the thickness of the coating layer.
To take the next measurement, please lift the probe to more than 3 centimeter and then repeat the step above .
Note: Based on the testing principle of Magnetic / Eddy current ( Fe / NFe) , the speed of pressing the probe on the coating layer should be appropriate. If too slow, it will cause man-made testing errors.
2. Zero-based calibration
Press the probe on the substrate steadily, then press the Zero key, do NOT lift the probe until the notice sound heard and '0' showed on the display.
Note: Once replace the substrate, zero-based calibration should be made again.
3. Calibration
The standard calibration has been finished in factory. If
testing results are out of accuracy after a long time storage,
please do One specimen calibration as following steps.
3.1 Choose an appropriate specimen according to yourmeasurement range.
3.2 Press the probe steadilyo on the specimen, then lift the probe after the reading showed up.
3.3 Adjust the measuring result to specimen’s value by pressing the plus key or minus key.
3.4 Repeat the steps above until the testing result is correct.
Note: If not sure about measurement range of work-piece, please use No.2 specimen (around 120μm) to finish the calibration.
Instrument Case