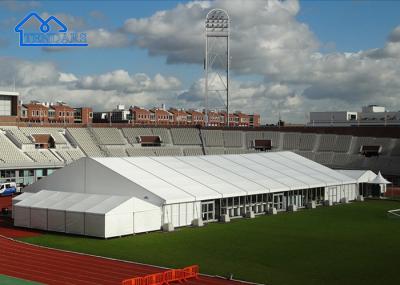
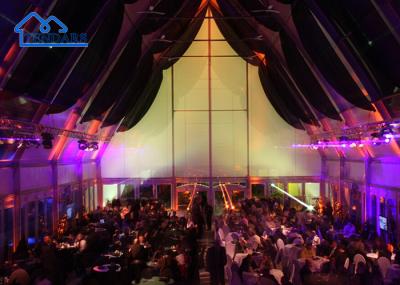
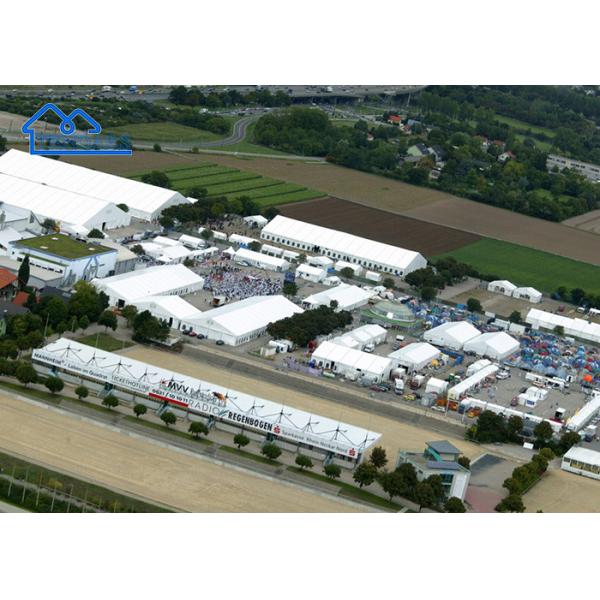
Item Name | White Aluminum Marquee Tent For Sale | MOQ | 1 Piece | |
Type | Luxury | Production time | within 15days | |
Size | 25X45 Or customized | Color | white or customized | |
Material | Aluminium Frame +PVC tarpaulin | LOGO | Accept custom | |
Payment way | T/T,Western Union,paypal | Function | Event, Private party wedding |
· Available for different kinds of ground surface;
· Classic and artistic design;
· No pole inside, 100% space available;
· Available for permanent use and temporary use;
· Modular design, flexible size;
· Waterproof, flame retardant, high wind loading, stable and long lifespan.
· In fact, all the support is engineered expertly on the sides, ground and the roof of the tent to provide the best degree of stability and durability.
·The advantage of having no internal poles is maximized space.
· There are also no restrictions on the usage of your space.
· The structure of the tent also means no pegs are required to hold the tent in place.
·This means it can be erected anywhere including concrete and decks. These are sometimes called clear span tents because they leave a clear space within the tent.
Prepare the Site:
Choose a suitable location for the tent, ensuring it's flat and free from any obstacles.
Check for underground utilities or other hazards before setting up the tent.
Unpack the Components:
Lay out all the components of the tent, including the aluminum frame, fabric panels, stakes, ropes, and any additional accessories.
Assemble the Frame:
Start by assembling the aluminum frame according to the manufacturer's instructions.
Typically, this involves connecting the frame pieces together using pins or screws to form the skeleton of the tent.
Raise the Frame:
Once the frame is assembled, carefully lift it into an upright position.
If the tent is large, you may need assistance or special equipment such as a forklift or crane.
Attach the Fabric Panels:
Once the frame is upright, begin attaching the fabric panels to the frame.
Start with one side of the tent and work your way around, securing each panel in place according to the tent's design.
Ensure the panels are stretched taut to avoid sagging or wrinkling.
Secure the Tent:
Use stakes or weights to anchor the tent to the ground, especially at the corners and along the sides.
If necessary, use guy ropes to provide additional stability, particularly in windy conditions.
Check and Adjust:
Double-check that all components are securely fastened and that the tent is stable.
Make any necessary adjustments to ensure the tent is level and properly tensioned.
Optional Accessories:
Install any optional accessories such as sidewalls, doors, windows, lighting, or flooring, according to your needs.
Inspect for Safety:
Before allowing people inside the tent, conduct a final inspection to ensure it's safe and properly installed.
Check for any sharp edges, protruding objects, or other hazards that could cause injury.
Dismantle and Store:
When the event is over, carefully dismantle the tent following the manufacturer's instructions.
Clean and dry the components before storing them in a dry, secure location to prolong their lifespan.
1. Q: What is the MOQ?
A. 1 Piece
2.Q:what is the production time?
A. Within 15 days.
3.What is the payment way?
A.T/T, Western Union,and so on.