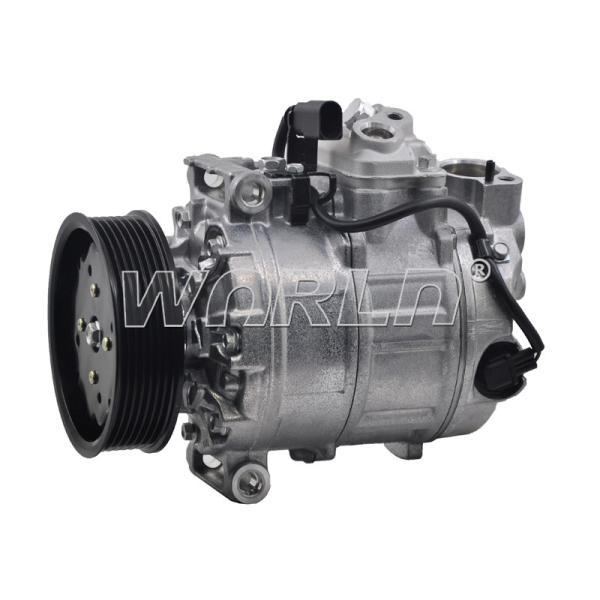
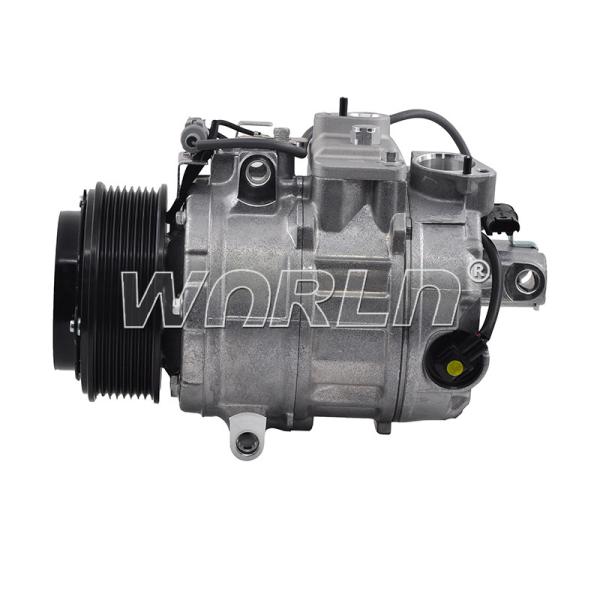
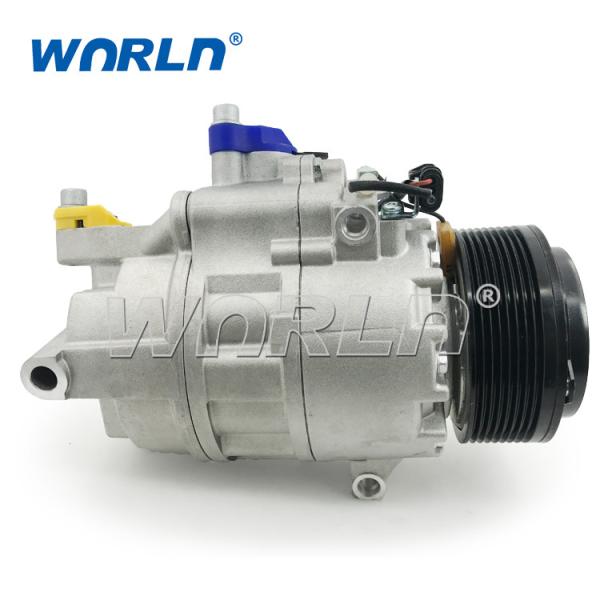
12V Car Air Compressor 7SEU16C For Audi Q7 For Bentley Continental For VWTouareg WXAD006
Parameter:
Car Make | |
Compressor Model | |
Voltage | |
Refrigerant | |
Year Model | |
OE NO | |
Installing a car AC compressor can be a relatively complex process that involves several steps. Here's a general outline of the installation process:
1. Gather Necessary Tools and Equipment: Before you start, make sure you have all the required tools and equipment. This may include wrenches, sockets, ratchet, refrigerant recovery machine (if necessary), new compressor, new O-rings, PAG oil, manifold gauge set, vacuum pump, and safety equipment like gloves and goggles.
2. Prepare the Vehicle: Ensure the vehicle is parked on a flat surface and turned off. Open the hood and locate the AC compressor, which is typically driven by a belt connected to the engine.
3. Relieve Pressure: If the AC system has any remaining refrigerant, it needs to be evacuated using a refrigerant recovery machine. This should only be done by a certified technician with the proper equipment to handle refrigerants safely.
4. Remove the Old Compressor: Disconnect the negative terminal of the battery to prevent electrical accidents. Remove the serpentine belt from the compressor pulley. Disconnect any electrical connectors or mounting bolts securing the compressor to the engine. Carefully remove the old compressor from its mounting brackets.
5. Prepare the New Compressor: Before installing the new compressor, transfer any necessary components from the old compressor to the new one, such as mounting brackets, sensors, or pulleys. Make sure to replace any O-rings or seals with new ones to prevent leaks.
6. Install the New Compressor: Position the new compressor in place and secure it with mounting bolts. Reconnect any electrical connectors. Install the serpentine belt back onto the compressor pulley and ensure it's properly tensioned according to the manufacturer's specifications.
7. Recharge the AC System: Connect the manifold gauge set to the high and low-pressure ports on the AC system. Use a vacuum pump to remove any air and moisture from the system, creating a vacuum. Once the system is evacuated, close the valves on the manifold gauge set and wait to see if the system holds the vacuum. If it does, charge the system with the appropriate amount of refrigerant according to the manufacturer's specifications.
8. Check for Leaks and Functionality: After recharging the system, start the engine and turn on the AC. Check for any leaks around the compressor or other components using a UV dye or leak detection tool. Ensure that the AC system is cooling properly and that all functions are working correctly.
9. Final Checks: Double-check all connections, belts, and system pressures to ensure everything is installed correctly and functioning properly.
10. Reconnect Battery: Once everything is confirmed to be in working order, reconnect the negative terminal of the battery.
If you're not experienced with automotive repairs, it's recommended to have a professional mechanic or technician perform the installation to ensure it's done correctly and safely. Additionally, handling refrigerants requires proper certification and equipment to comply with environmental regulations and ensure safety.
Product Picture:
Product Description
Warranty:
We provide one year quality warrantee. Any question of the product, please first contact us
This warranty is subject to the following conditions and exclusions:
1.The shipping costs for return back to our company is in buyer side
2. If any part is required to be replaced, the buyer should also pay for the costs of the parts to be replaced.
3. Before returning the items, please confirm the return address and the logistics method with us. After you give the items to the logistic company, please send us the tracking number.
As soon as we receive the goods, we will repair or change new part .
4. If the quality or damage caused by improper installation or use, not within the scope of warranty
Why choose us: