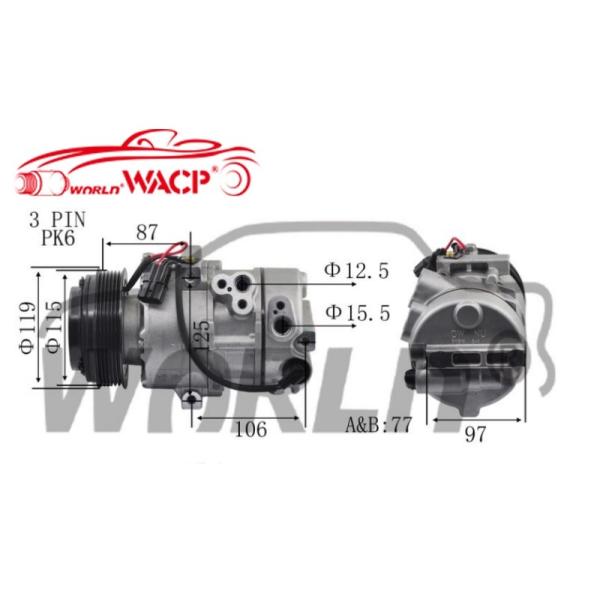
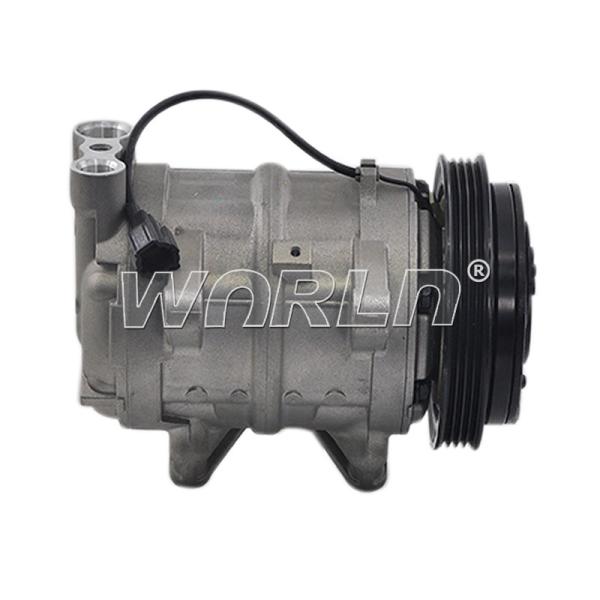
RC.600.257 Car AC Compressor DCP17502 5412300511 A5412300511 For 10PA15C 24V For MB WXMB007
The automobile compressor is the core component of the air conditioning system. It is responsible for compressing the refrigerant into high-temperature and high-pressure gas and cooling the air in the car through circulation. When you turn on the air conditioning switch in your car, the compressor will be activated and start working. It obtains power from the engine through an electromagnetic clutch and drive belt, and circulates refrigerant to the evaporator and condenser for heat exchange. This process cools and dehumidifies the air inside the car, providing a comfortable driving environment. The effectiveness and normal operation of the vehicle's air conditioning largely depends on the working status of the compressor.
Parameter:
Model Number
| WXMB007 |
Car Model
| For 10PA15C 24V For MB |
Type
| Ac Compressor |
Year Model
| 2003-2008 |
Compressor type
| 10PA15L 11PK |
OE No
| DCP17502/5412300511/A5412300511/5412301111/A5412301111 |
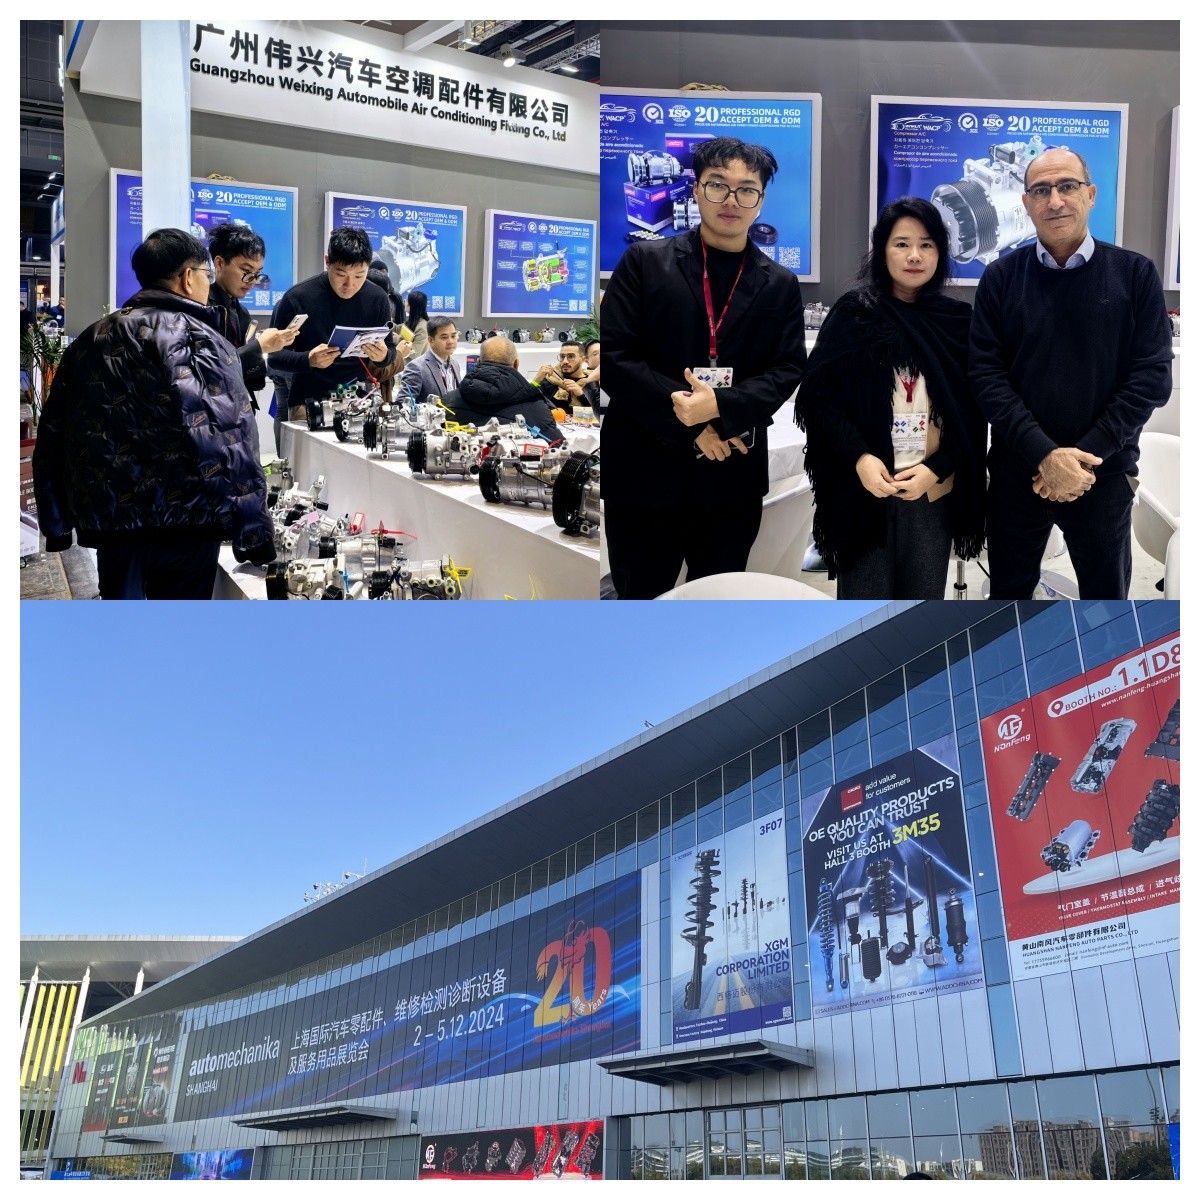
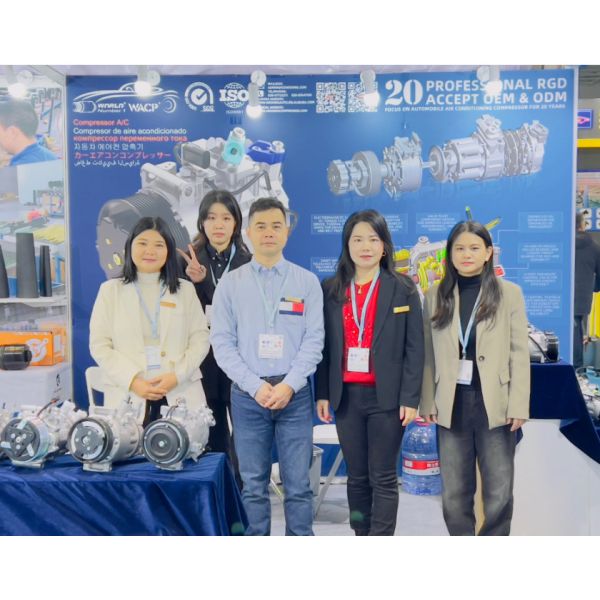
Attend Exhibitions
We have participated in many domestic and foreign exhibitions to demonstrate our high-quality team and attentive service and develop domestic and foreign markets. -----"We are the reliable company you want, and we are worthy of your trust."
Precautions for Repairing an Automotive A/C Compressor
1.Safety First
Always disconnect the vehicle’s battery before starting repairs to avoid electrical hazards.
Wear protective gear (gloves, goggles) as refrigerant (e.g., R134a) can cause frostbite or chemical burns.
2.Recover Refrigerant Properly
Use an EPA-approved recovery machine to safely extract refrigerant. Never vent it into the atmosphere—it’s illegal and environmentally harmful.
3.Check Compressor Failure Root Cause
Inspect for leaks, clutch issues, or contamination (e.g., metal debris). Flush the system if debris is present to prevent repeat failure.
4.Oil Management
Drain and measure compressor oil. Replace with the correct type (PAG, ester, etc.) and quantity per manufacturer specs.
5.Component Inspection
Replace the receiver-drier/accumulator and expansion valve/orifice tube whenever the system is opened to prevent moisture contamination.
6.Proper Evacuation
Evacuate the system with a vacuum pump for at least 30 minutes to remove air/moisture before recharging.
7.Correct Refrigerant Charge
Use a manifold gauge set and charge refrigerant by weight (not pressure) as per the vehicle’s specifications.
8.Post-Repair Verification
Test clutch engagement, cooling performance, and check for leaks with a UV dye or electronic detector.
Goods Picture