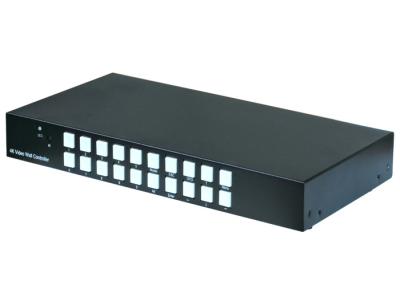
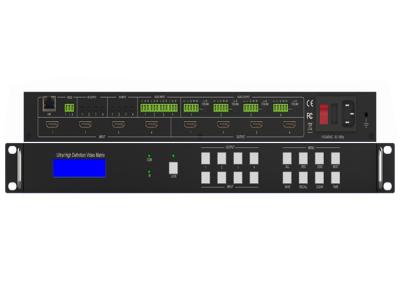
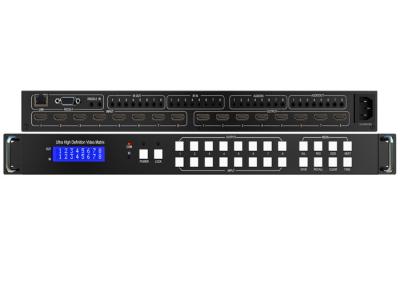
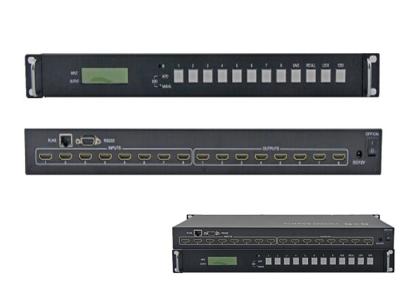
18Gbps 4k Hdmi Video 4x4 Matrix Switcher
594MHz 18Gbps 4k HDMI HDCP 2.2 4x4 Video Switcher Metal Enclosure
1. Introduction
The 4x4 HDMI Matrix supports the transmission of video signal (up to 4K2K@60Hz YCbCr 4:4:4) with multichannel digital audio from up to four
high definition sources to up to four HDMI outputs. Each output supports downscaler functionality. It can display the same or different screen on four displays (the user can choose the display screen for any signal source). Also, the product has distribution mode and switching mode.
2. Features
☆ HDCP 2.2 compliant
☆ Up to 4K2K@60Hz with 24bit RGB/YCbCr 4:4:4
☆ HDR, HDR10, HDR10+, Dolby Vision passthrough
☆ Support LPCM 7.1CH, Dolby TrueHD, and DTS-HD Master Audio
☆ Support 4K -> 1080P Downscaler
☆ Support advanced EDID management
☆ Flexible control via panel or IR remote control
3. Package Contents
① 1× 4×4 HDMI Matrix
② 1× 12V/2.5A Power Adapter
③ 1× Matrix IR Remote Control
④ 1× User Manual
⑤ 2× Mounting Ears
4.Operation Controls and Functions
Front Panel
NO. | Name | Function Description |
1 | OLED screen | Display matrix switching status, input / output port, EDID, Baud rate, IP Address. |
2 | Power LED | The LED will illuminate in green when the product is connected to power supply, and red when the product is on standby. |
3 | Input / Output buttons | You need to press an output button (1~8) firstly and then press an input button (1~8) to select the corresponding input source for the output port. |
4 |
MENU / ENTER / UP /DOWN | ①EDID Check:On the initial OLED display screen, press “MENU” button to enter the Matrix switching state interface, then press “UP/DOWN” button to check the current EDID information of each HDMI input port. ②EDID setting: On the initial OLED display screen, press “MENU” button to enter the EDID setting interface, press “UP/DOWN” button to select the required EDID, and press the “ENTER” button. A prompt “copy to input :” will appear. Then press “UP/DOWN” button to select the input port you need to set, and press “ENTER” button again to confirm. ③Baud rate setting: On the initial OLED display screen, press “MENU” button to enter the Baud rate interface, and press “UP/DOWN” button to select the required Baud rate, finally press the “ENTER” button to confirm the setting. ④IP Address Check: On the initial OLED display screen, press “MENU” button to enter the IP interface, then press “UP/DOWN” button to check the current IP address. Pressing the “MENU” button again will return to the initial OLED display status. |
5 | POWER button | Long press the POWER button for 3 seconds to enter the standby mode, then short press it to wake up the device. |
6 | IR Window | IR receiver window, it only receives the IR remote signal from this product. |
7 | LOCK button | Short press the LOCK button to lock front panel buttons (Except the power button); Press it again to unlock. |
Rear Panel
No. | Name | Function Description |
1 |
IR EXT | If the IR receiver window of the unit is blocked or the unit is installed in a closed area out of infrared line of sight, the IR receiver cable can be inserted to the “IR EXT” port to receive the IR remote signal. |
2 | L/R OUT(1-8) | Analog audio output port, connect to an amplifier or speaker via a 3.5mm audio cable. |
3 | COAX OUT (1-8) | Coaxial audio output port, connect to audio output device such as audio amplifier via a coaxial cable. |
4 | TCP/IP port | TCP/IP control port, connect to PC or router with an RJ45 cable. |
5 | RS-232 port | Connect to a PC or control system by D-Sub 9-pin cable to transmit RS-232 command. |
6 | GND | Connect the housing to the ground. |
7 | INPUT ports (1-8) | HDMI input ports , connect to HDMI source device such as DVD or set-top box with an HDMI cable. |
8 | OUTPUT ports (1-8) | HDMI output ports, connect to HDMI display device such as TV or monitor with an HDMI cable. |
9 | DC 12V | Connect to 12V/5A power adapter. |
5. Our service: