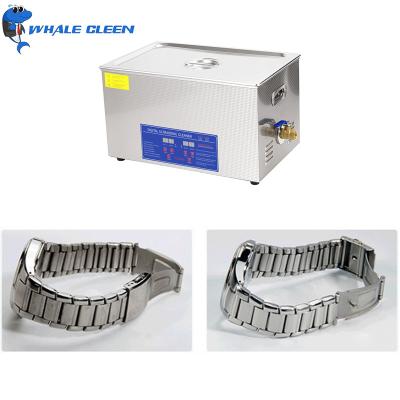
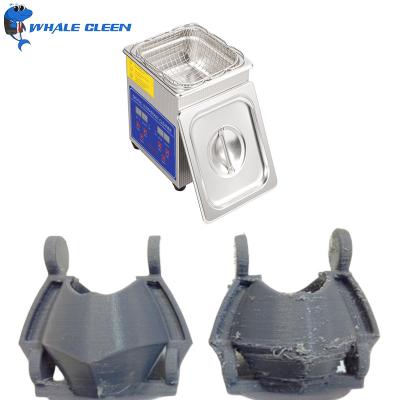
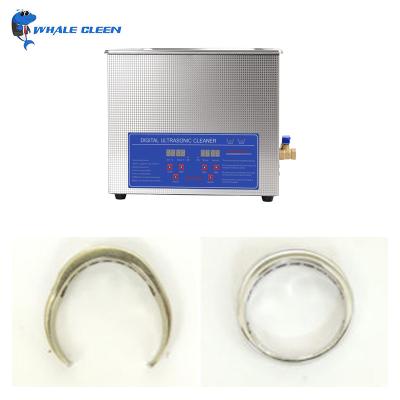
450 Watt Heater 15L Digital Ultrasonic Machine For 3D Printed Parts
Why You Need Whale Cleen sonic Digital Ultrasonic Machine For 3D Printed Parts?
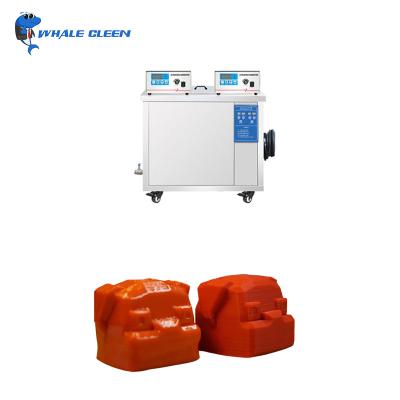
3D printing, also called fused deposition modeling and fused filament fabrication, has revolutionized and lowered the cost of traditional molding techniques such as the lost wax process. By using two moldable thermoplastic formulations such as ABS for the part itself and PLA for removable mold supports 3-D printing is capable of quickly producing highly complex configurations.
A key to the efficiency of the process is fast, safe removal of the PLA mold support without risking damage to the ABS part. An ultrasonic cleaner is proven far faster, safer and more effective than water sprays or manual scrubbing.
Specification:
Model | Z-S06 |
Ultrasonic Frequency | 40,000 Hz |
Tank Material | SUS304 |
Tank Capacity | 15 L |
Timer | 1-30minutes ,Digital timer |
Power Supply | AC 100 ~ 120V, 50 / 60Hz AC 220 ~ 240V, 50 / 60 Hz |
Ultrasonic Power | 300W |
Heating Power | 450 W , Digital Heating |
Unit Size | 360×325×285 mm ( L x W x H ) |
Tank Size | 330×300×150 mm ( L x W x H ) |
Package Size | 460×410×340 mm ( L x W x H ) |
N.W. | 9.0 kg |
G.W. | 10.5 kg |
Specification Of Related Model:
If this model is not suitable for you, please check other in below chart.
Model | Tank size | Unit size | Volume | Actual ultrasonic power | Rated ultrasonic power | Ultrasonic frequency | Heating power | Timer | Heating temperature |
LxWxH(mm) | LxWxH(mm) | (L) | (W) | (W) | (kHz) | (W) | (MIN) | (℃) | |
Z-S008 | 150x85x65 | 175x110x125 | 0.8 | 30 | 30 | 40 | no | 1-30 | no |
Z-S01 | 150x135×100 | 175x160x210 | 2 | 50 | 60 | 40 | 150 | 1-30 | 0-80 |
Z-S02 | 240x135x100 | 265x165x220 | 3.2 | 100 | 120 | 150 | |||
Z-S03 | 300x150x100 | 325x180x225 | 4.5 | 150 | 180 | 300 | |||
Z-S03 | 300x150x150 | 325x180x280 | 6.5 | 150 | 180 | 300 | |||
Z-S04 | 300x240x150 | 325x265x280 | 10.8 | 200 | 240 | 450 | |||
Z-S06 | 330x300x150 | 360x325x285 | 15 | 300 | 360 | 450 | |||
Z-S08 | 500x300x150 | 530x325×285 | 22 | 400 | 480 | 600 | |||
Z-S10 | 500x300x200 | 530x325x325 | 30 | 500 | 600 | 600 |
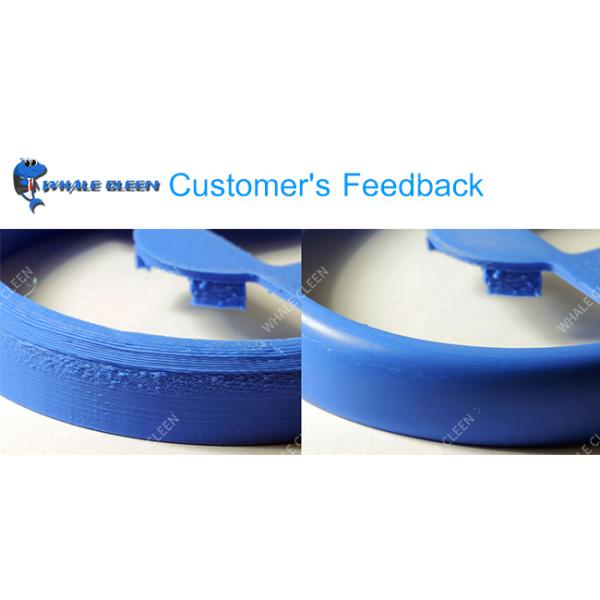
Customer's Feedback:
How To Clean 3D Printed Parts With Digital Ultrasonic Machine?
Items Needed:
Small ultasonic cleaner
Silicone net or a 3D printed Acrylate basket
Process:
Confirm that there is a clean build plate that has been placed in the freezer for a minimum of 15 minutes prior to step 2.
Place the build platform on top of the cold blank build plate as shown. Keep freezer door open.
Within a couple of minutes, you will hear crackling sounds. This is the sound of a parts separating from the build plate. Carefully touch each part to confirm the build part has separated from the build plate. Larger pieces will take a bit longer than smaller ones. Remove build plate from freezer when all parts have separated from build plate.
Put on safety goggles, an air respirator and a pair of Nitrile gloves for the remainder of this procedure.
Fill the ultrasonic cleaner with 99%> Isopropyl Alcohol(IPA) to the maximum fill limit for your cleaner. Cover with lid and set temperature to 30° Celsius.
Carefully place desired part(s) into a non-metal basket. Metal baskets will retain more heat and have the potential to melt or deform delicate parts. A silicone net or a 3D printed Acrylate basket is preferred.
Before lowering the basket into the ultrasonic cleaner, confirm the IPA is at the recommended 30° Celsius temperature using a thermometer. The ultrasonic cleaner will slightly rise in temperature during the cleaning process so monitoring the temperature throughout the cleaning process is highly recommended for optimal part processing.
Slowly lower the basket into the ultrasonic cleaner. Confirm parts are completely submerged.
Replace lid and turn on the Ultrasonic agitator.
Observe your part(s) every 20 seconds (+/-) to see the progress of the support material dissolving. This will happen relatively quickly.
Once the part(s) look free of support material, turn off agitator and remove basket from cleaner and place on dry paper towels.
Place the basket into a 2nd IPA bath (room temperature) to remove any residual support material off part. Slowly swirl the basket around manually for no more than 10 seconds.
Remove basket and place on dry paper towels.
Carefully remove the delicate part(s) from basket and allow them to air dry. Part(s) are very delicate, so handle with care.
Finished processed part(s) below. As you can see there is white residue left on the part(s). This is a combination of evaporated IPA and the dried surface of the wax. This will have NO affect on casting.