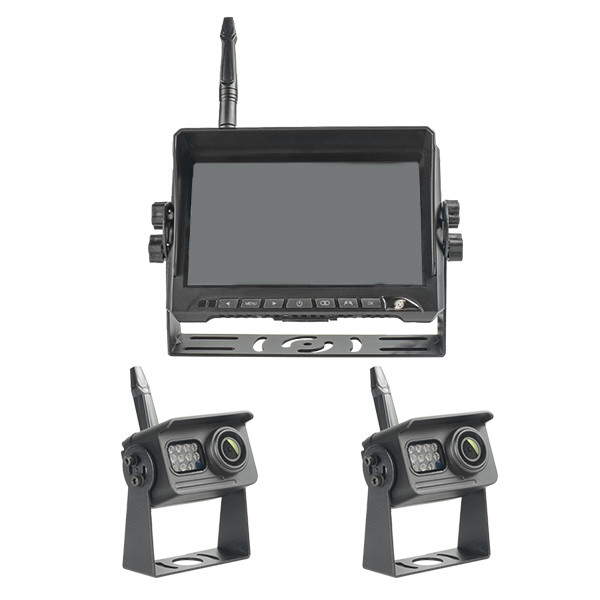
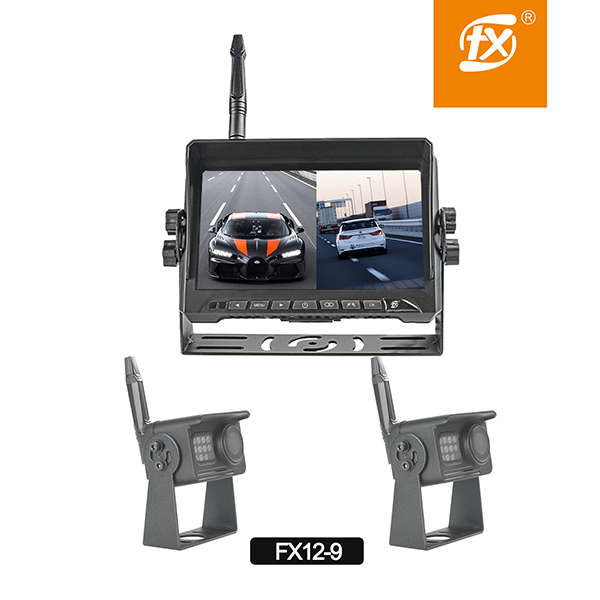
HD 1080P IP69K Waterproof Backup Cameras Reversing 7 Inch Monitor
Waterproof Backup Cameras IP69K 1080P HD Reversing Monitoring 7 Inch Monitor DVR
Features:
1. 7 inch 720P Dual-channel digital high-definition wireless DVR set
2. Support multi-channel camera display, can support up to 4 channel split screen.
3. 7 inch IPS screen 1024*600 resolution 900cd/ m².high brightness make the displayed image cleared and more detailed.
4. 720P H.264 HD DVR Video recording,support playback online.
5. Self-defining reversing line setting,adjust the angle of reversing line you need.
6. Wireless signal open distance can reach up to 1650ft(500m),no freeze even in high speeds environments.
7. Camera use Structural waterproofing process, waterproof IP69K, waterproof droplets, anti-fog, dust-proof, scratch-proof.
8. 120 degree full-glass wide angle lens, 200W(1080P) Pixel Photosensitive element(Sensor).
Specification:
Monitor
Screen Size | 7 inch Color Monitor |
Operating Frequency | 2.4GHz~2.4835GHz |
Resolution | 1024 x 3(RGB) x 600 |
Video Format | MP4 |
Built-in DVR recording | Holding up to 16G/32G/64G/128G SD Cards |
Brightness | 900 cd/m² |
Channel | 4 channels Max |
Transmission Distance | 1650ft |
Power consumption | Max:6W |
Power Supply | DC 12-24V |
Operating temperature | -20℃--70℃ |
Storage temperature | -30℃--80℃ |
Outer Dimension | 184mm(W)X129mm(H)X26mm(D) |
Camera
Viewing Angle | 120° |
Size | 78*64*50mm |
Image Device | 1/2.7" COMS (HD) |
Waterproof rating level | IP69k |
Transmission Distance(barrier free) | 1650ft |
Night Vision Distance | 33ft |
Latency | less than 200ms |
Power Supply | DC 12-32V |
Power Consumption | 150mA/12V |
IR Control | Smart IR-CUT 650nm Day/850nm Night Auto |
Operating Temperature | -20°C~+70°C |
Storage Temperature | -30°C~+80°C |
Install the monitor:
1. Choose the location to fix the monitor.
2. Connect the monitor to the cable of the car cigarette lighter adapter.
3. Insert the car cigarette lighter adapter into the car cigarette lighter socket, and place the monitor cable
to avoid collision or endangering the safety of the vehicle and passengers.
4. After all the cables are connected, power on for a temporary test, and then do the follow-up work after
confirming the normal work.
Install the camera
1. Choose the location to fix the camera.
2. If necessary, drill holes and screws to fix and thread in order to insert the camera cable into the vehicle.
3. Find the positive and negative poles of the vehicle power supply DC12/24V,carefully strip the wire, then connect the red positive wire of the camera able to the positive pole of the vehicle power supply, and then connect the black wire of the camera to the negative pole of the vehicle power supply. After the connection is firm, wrap it with tape, pay attention to waterproof.
4. After all the cables are connected, power on for a temporary test, and then do the follow-up work after confirming the normal work.